Submenu
Installation
Renderwow V-Ray for SketchUp guideline.
1. Renderwow installation
After downloading the client software, double-click the installer, and then install the software as the steps below. We recommend you don’t change any options during installation.
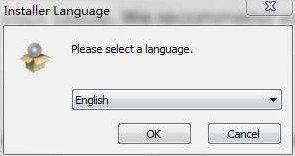
1) Once the dialog below is shown, please select the proper installation language from “Please select a language” combo box, I recommend you use the default language. Then click “OK” button.
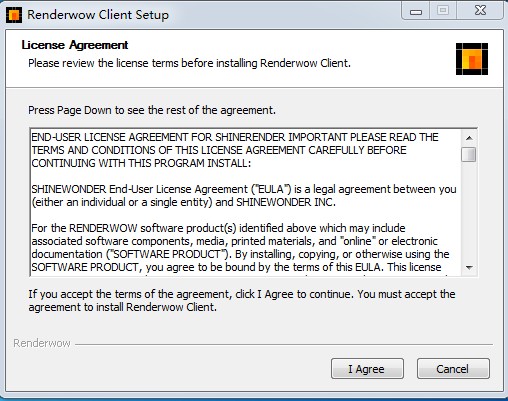
2) Once the dialog shown below appears, click “I Agree” button.
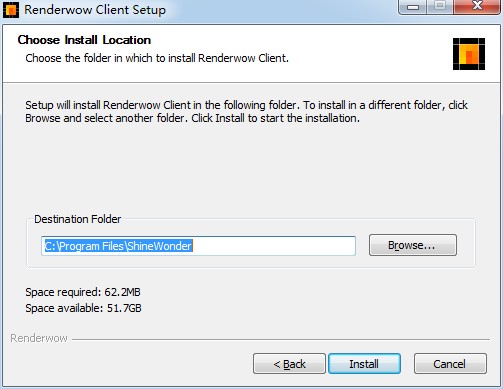
3) Once the dialog shown below appears, click “Browse” to select proper installation path. We recommend the software is installed in the default path. Then click “Install” button.
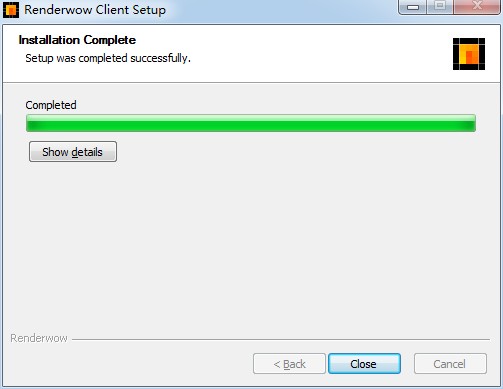
4)You wait for installation to be finished. Once installation is finished, the dialog below is shown, click “close” button.
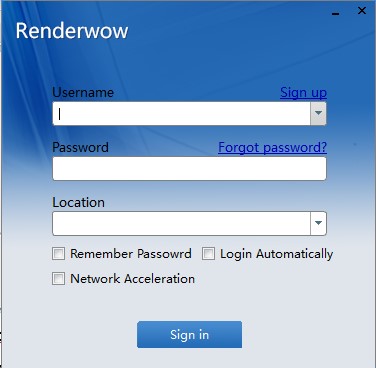
2. Double-click “Renderwow”icon on the desktop to register and login.
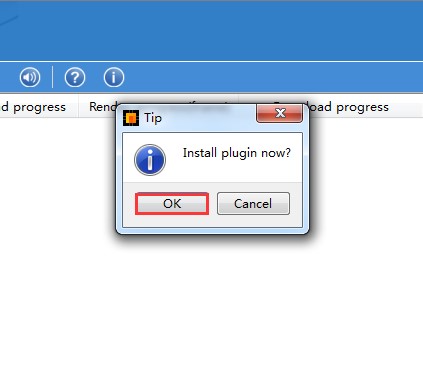
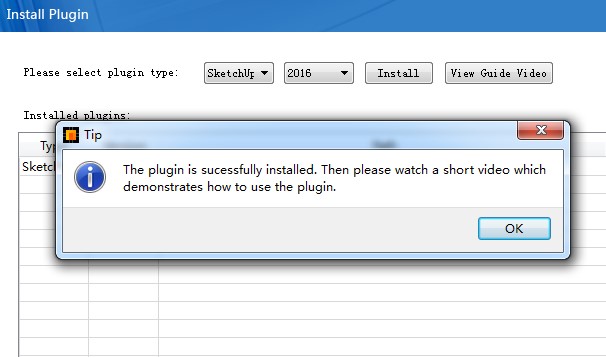
3. Renderwow sketchup extension installation.
The figure below shows the “Install Plugins” window:

4. Submitting the jobs
First you need login on Renderwow when you submit jobs, then you will submit jobs to do rendering job according the following steps:
1) Open the skp mode from SketchUp
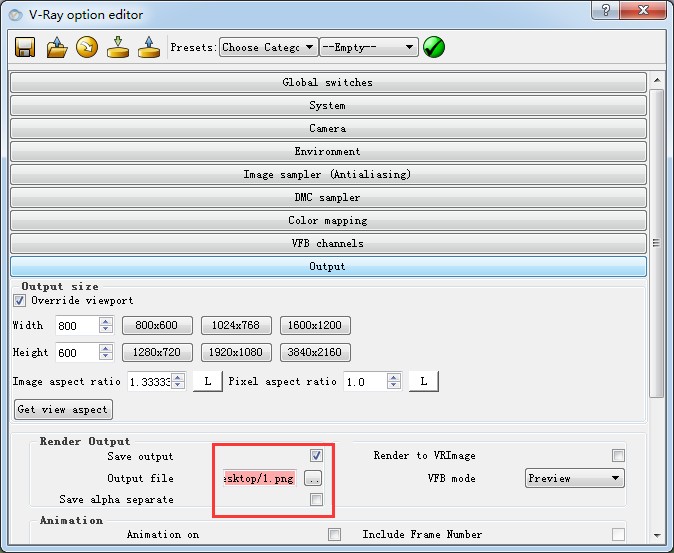
2) Setup output path from V-Ray setting option. As shown in the picture below:
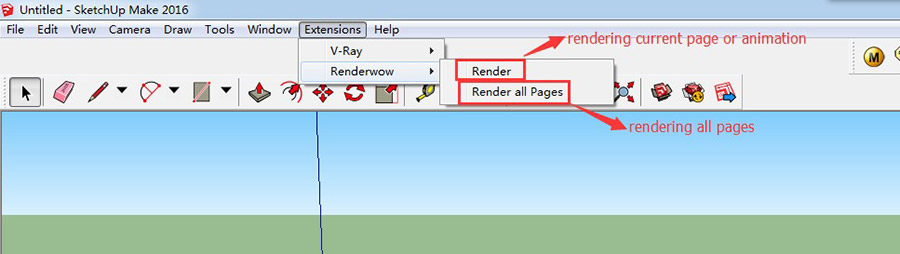
3) Submitting jobs though the cloud rendering service. Click Extensions --> Renderwow --> Render. As shown in the picture below:
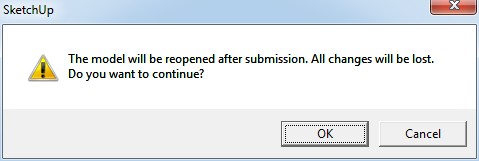
4) Reopen model warning box. As shown in the picture below: Renderwow will open the model after submission, all changes will be lost. Do you still want to continue? If yes, please click “yes”; if you need to save it first, please click “cancel” to stop submitting.
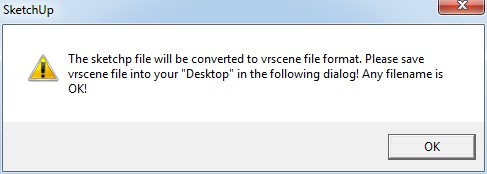
5) As the saved file shown in the dialogue below, please click “yes”. The file explains that SketchUp file will be converted to vrscene file format, please save vrscene file into your “Desktop” in the following dialog! Any filename is ok!
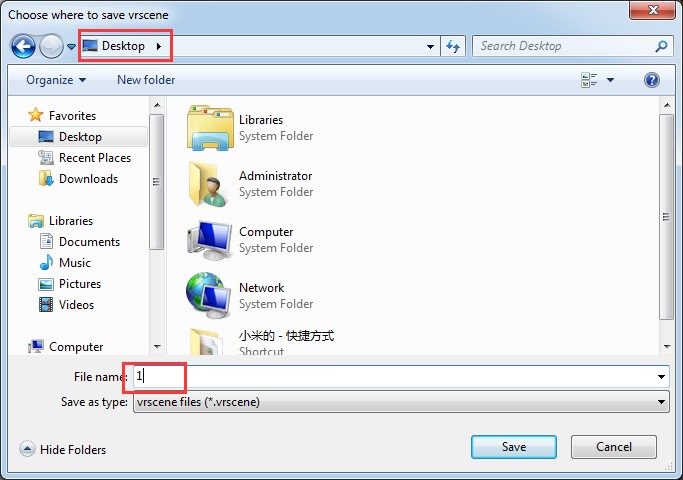
6) Save vrscene file. Please note: Save the file into “desktop” and any files name is ok like “1” as shown in the pic below.

As shown in the screenshot above, renderwow’s processing stage and estimated time are shown on the right bottom status bar. For this moment, you don’t need to do anything but waiting. Please note: Please be patient to wait! For complex model, the processing time will be longer. You can continue to operate SketchUp after the plugin submitted successfully; Otherwise it is easy to make SketchUp dead influencing submitting process.
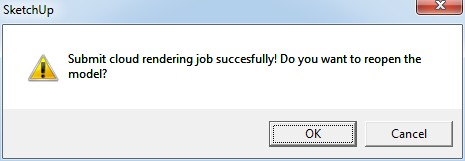
7) The following dialogue will be shown after the job submitted: Please click “yes” if you need to open the model and click “cancel” to close the model according to you requirements. As shown in the picture below:
You will see the job you submitted after having login successfully on Renderwow.
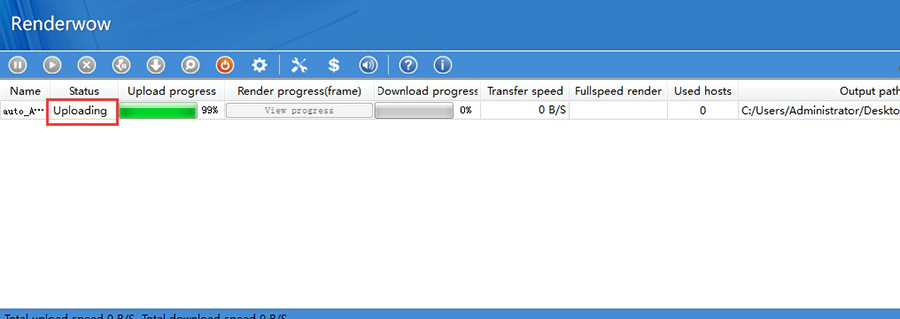
8) You need double-click “Renderwow” output path to see the rendering result. As shown in the pic below:


