
 3ds Max
 Blender
 Keyshot
 Cinema4D
 SketchUp
 Rhino
Rhino Maya/Houdini/Clarisse/Katana/

Cinema 4D Submission Tutorial
Overview
The Renderwow platform supports Cinema 4D versions R16–R23, S24, R25–R26, 2023–2026, compatible with commonly used renderers (such as Redshift, Octane Render, V-Ray, Corona, etc.) for job submission. Currently, submission is done via the Renderwow plug-in within Cinema 4D software.
Video for Cinema 4D Plugin Submission
1. Submission Preparation
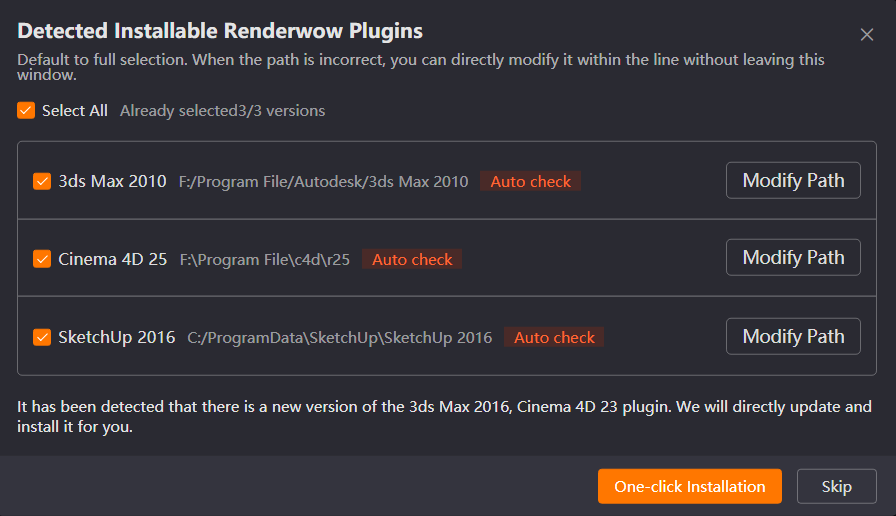
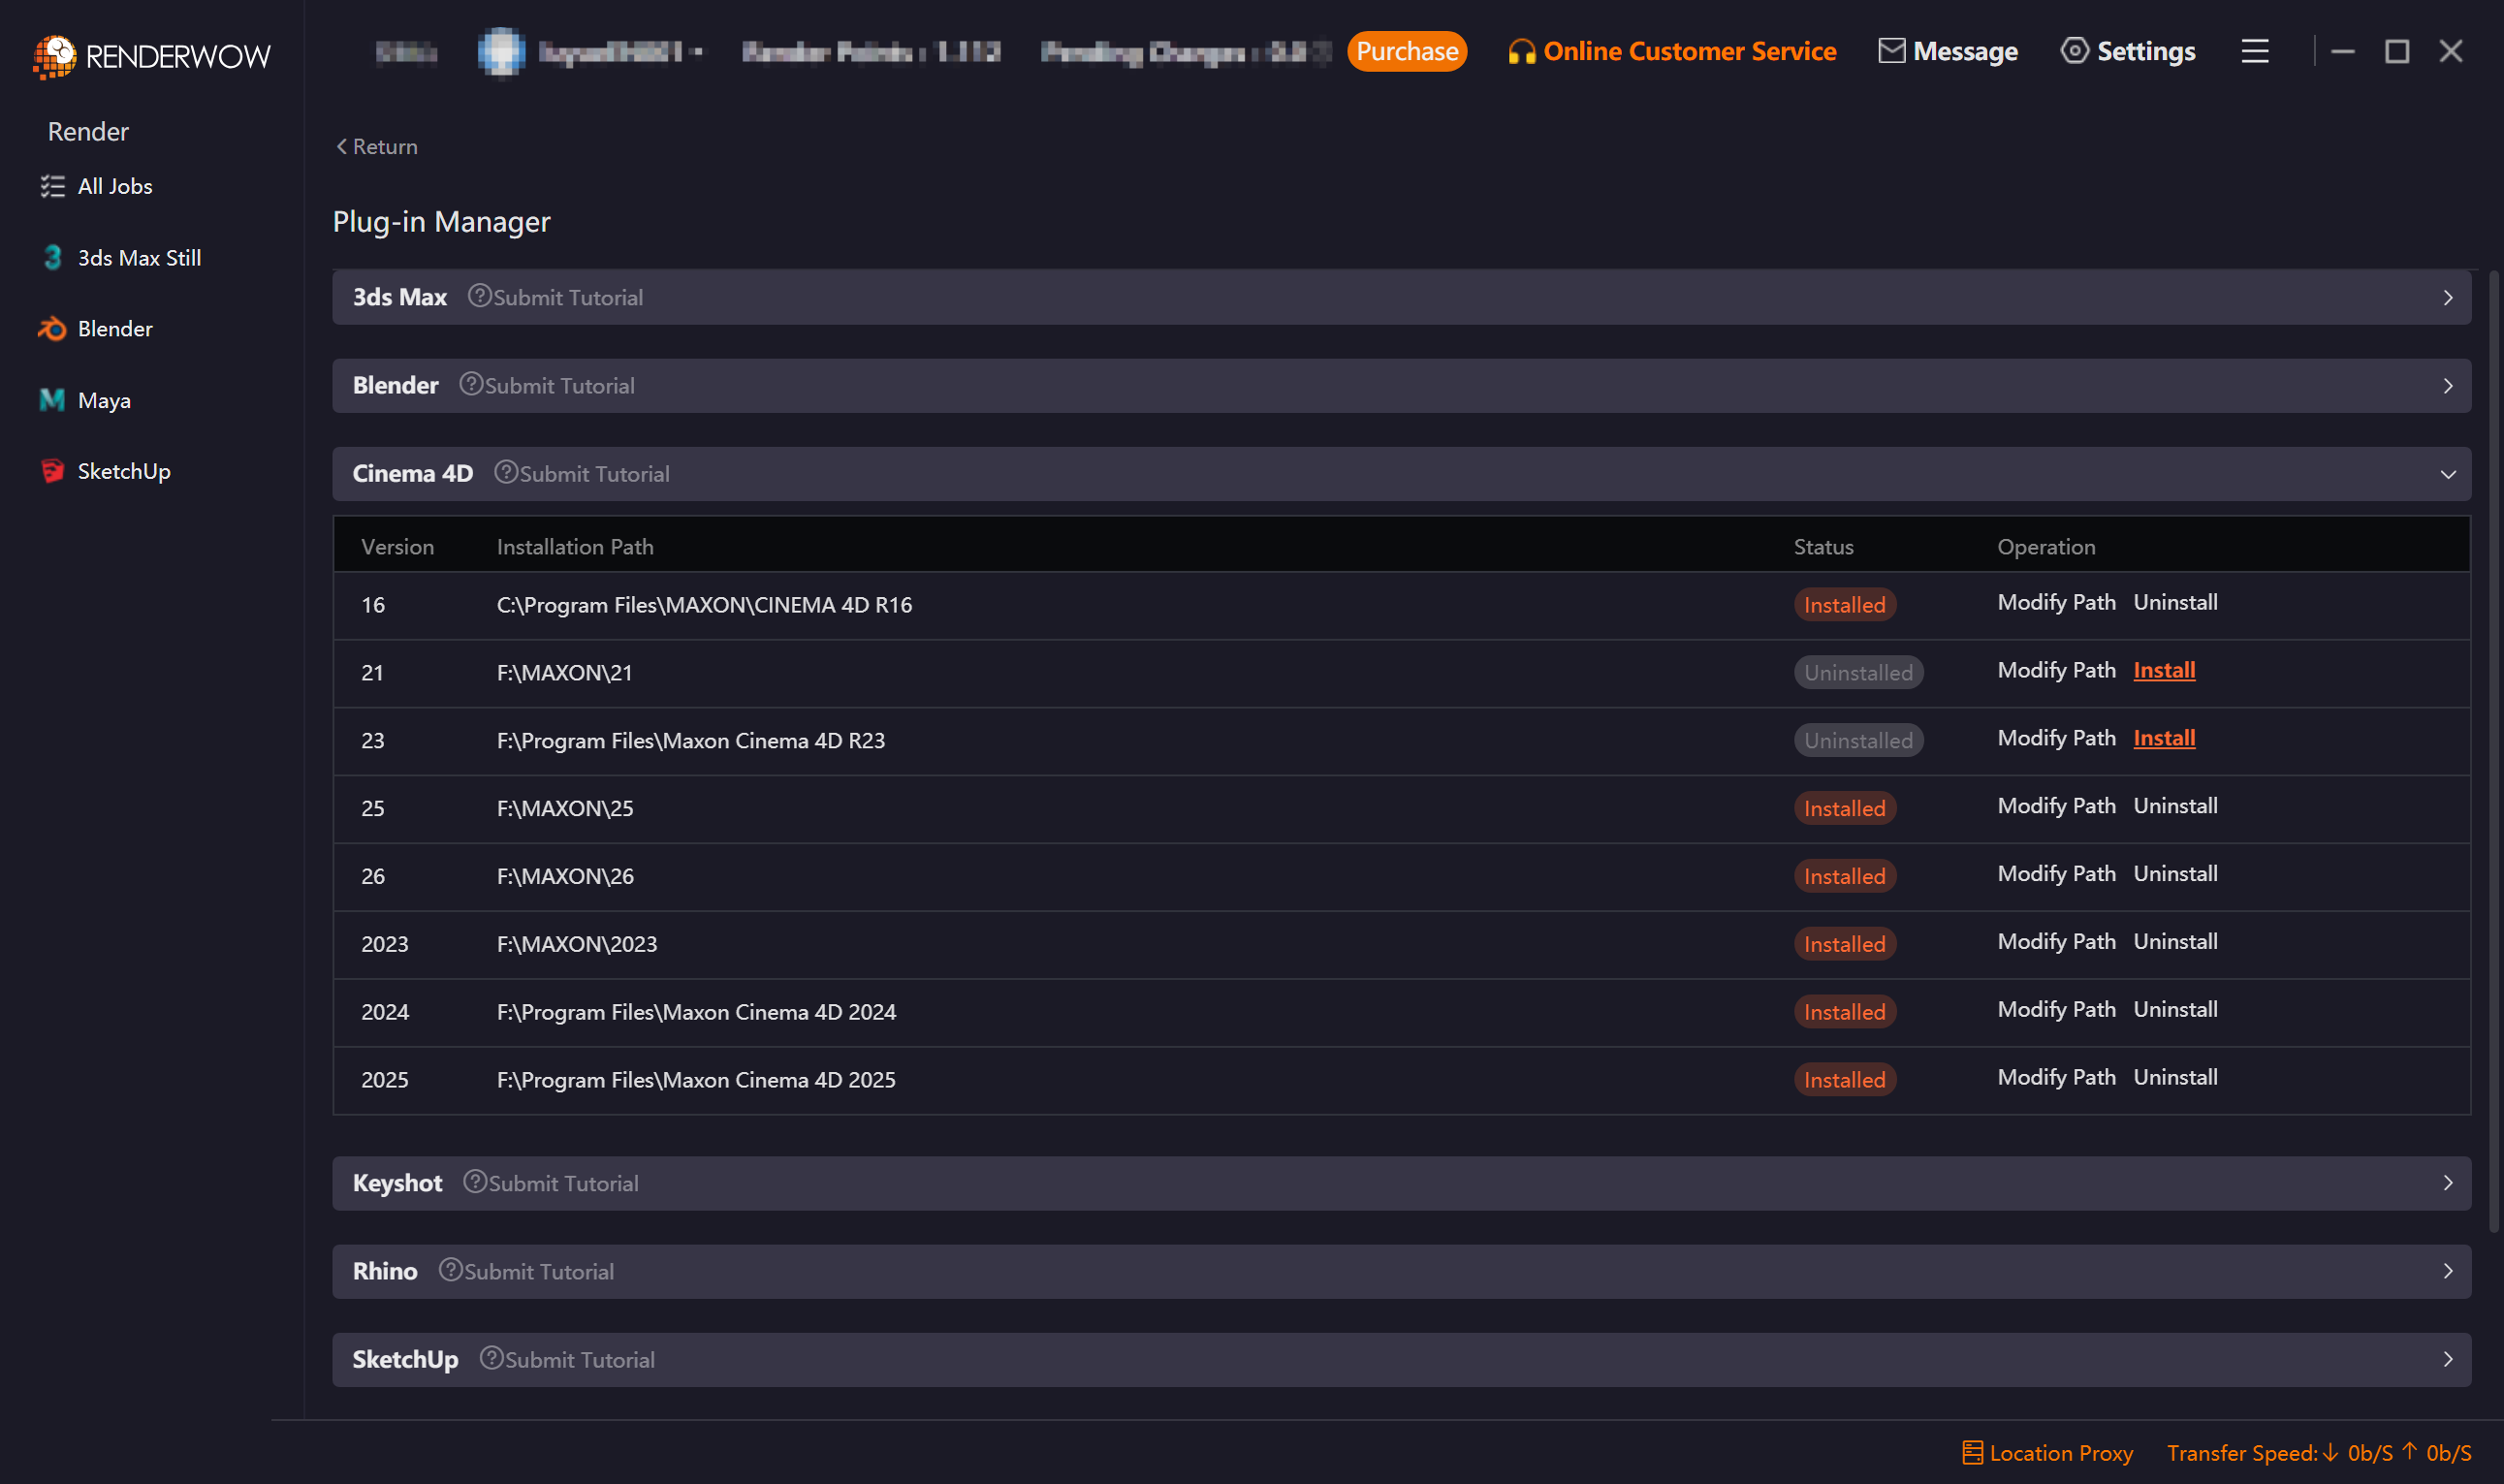
Launch the Renderwow Client. Install the Renderwow plugin matching your local Cinema 4D version either from the automatic plugin detection popup or by navigating to the [Plug-in Manager] page. Once the installation is complete, Renderwow will display an [Installation Successful] notification, and the corresponding Cinema 4D version in the list will show as Installed.
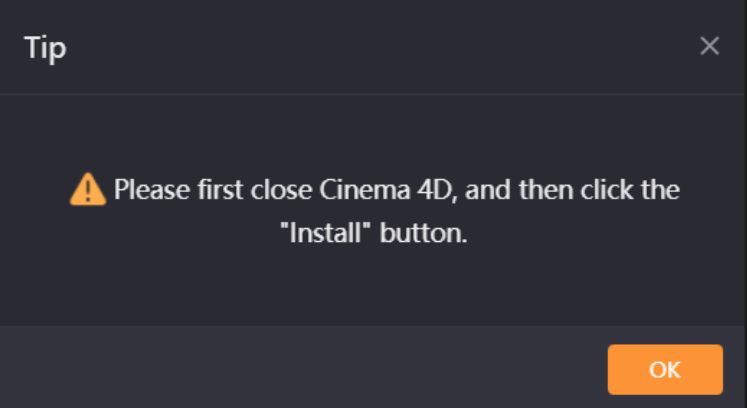
Note: If Cinema 4D is running during plugin installation, installation will fail and an error will occur.
2. Open Renderwow Cinema 4D Plug-in
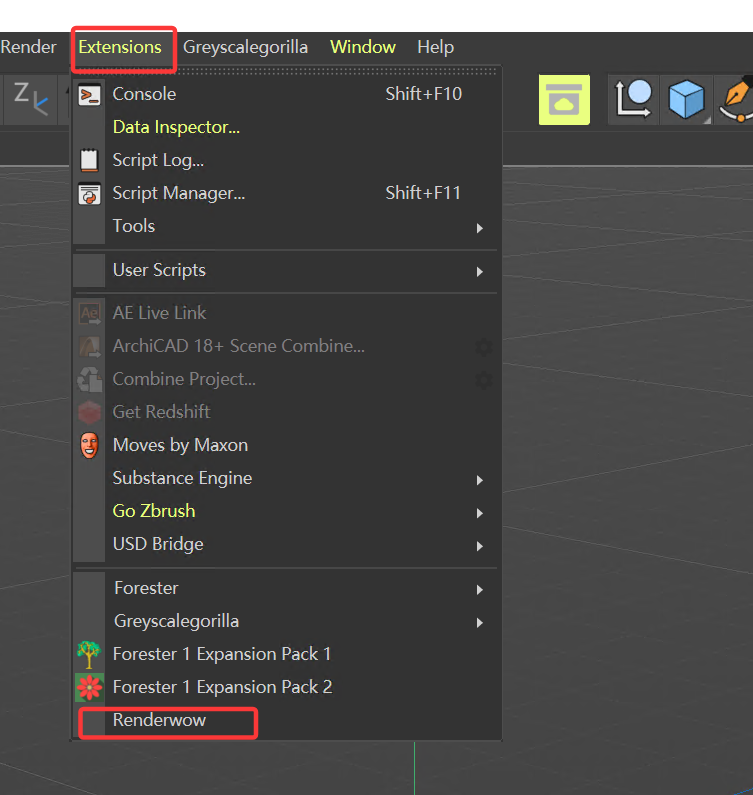
After plug-in installation is complete, launch the local Cinema 4D software. After configuring the render scene-related parameters (such as output path, render Resolution, and other necessary information), find the [Extensions] option in the top menu bar, click the dropdown menu, and select [Renderwow] from the list to open the Renderwow submission interface.
3. Configure Submission Parameters
In the plug-in submission interface, configure the Job Name, Project Name, Frames Per Machine, Version Selection, GPU Render, and other parameters according to your scene requirements. If the scene uses sequence frame textures or additional resources not recognized by the plug-in, you need to manually add the resource path in the corresponding input box to ensure resources can be uploaded normally before preparing to submit the job.
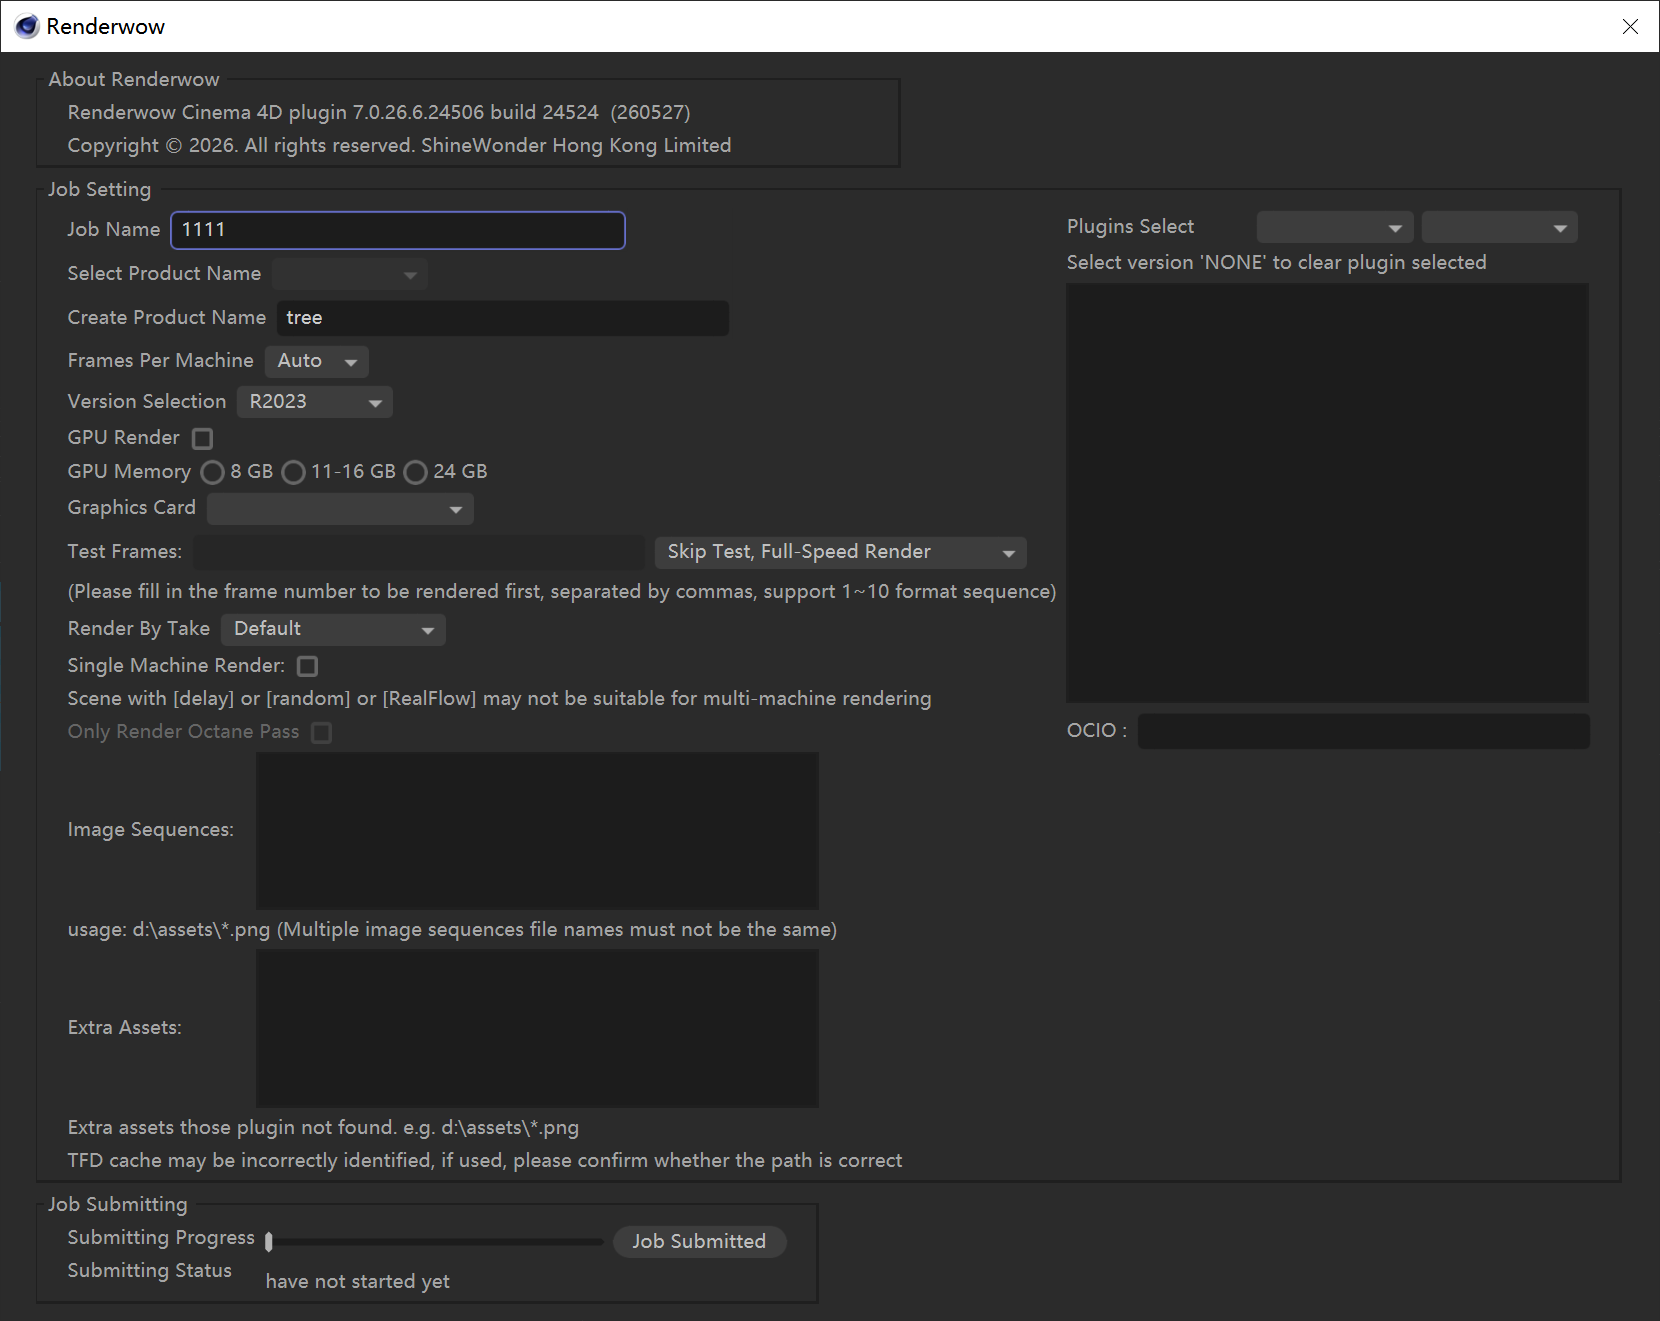
4. Submit job to Renderwow Client
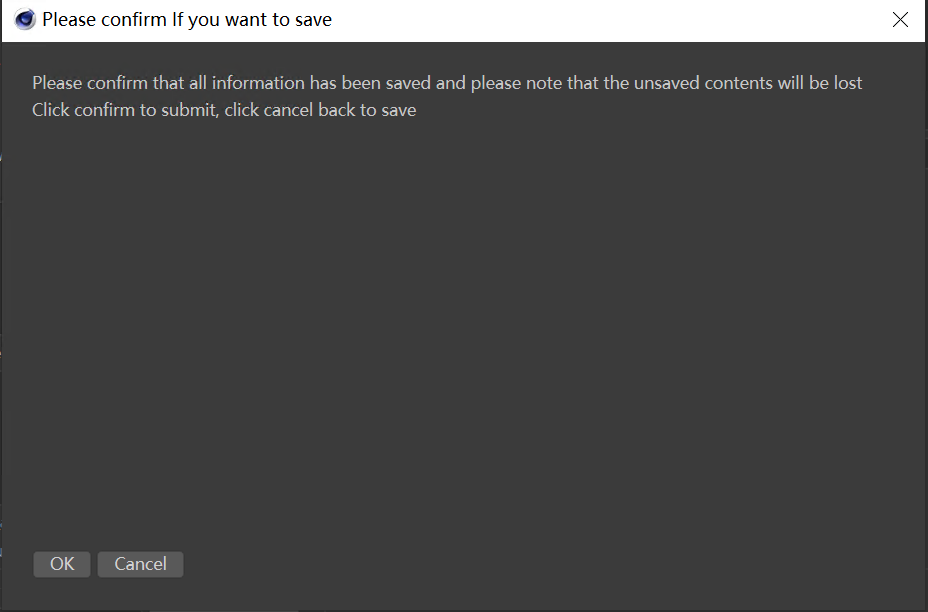
After the previous step, click the "Job Submitted" button in the plug-in submission interface. The first confirmation pop-up will appear, prompting "Please confirm that all information has been saved and please note that the unsaved contents will be lost." Click "OK" to continue submission; click "Cancel" to return and modify the scene or parameters.
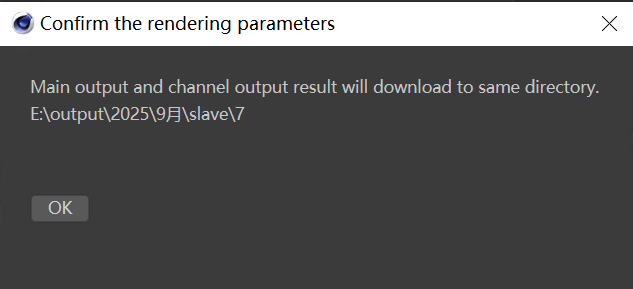
After clicking "OK", the second confirmation pop-up will appear, prompting "Main output and channel output result will download to same directory." Click "OK" to proceed to the next step.
The submission status displays "Renaming all resource files in the project." Renderwow automatically renames all resource files associated with the scene for easy upload and render recognition.

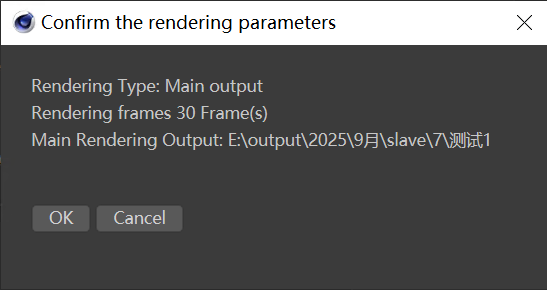
After resource renaming is complete, the submission status changes to "Getting render settings." Renderwow automatically reads the scene’s render settings and pops up a new render parameter confirmation window, marking the render type, render frame count, main render output path, and other information. Click "OK" to continue submission; click "Cancel" to reconfigure parameters.

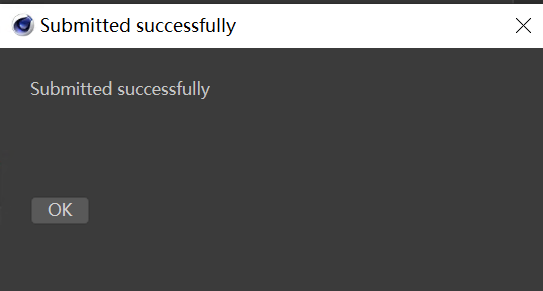
After confirmation, Renderwow starts uploading resources and submitting the job. When the submission status displays "Completed", a "Submitted successfully!" prompt pop-up will appear. Click "OK".

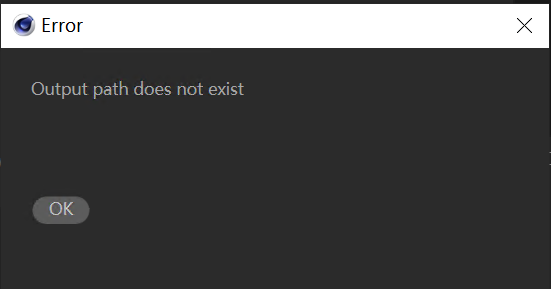
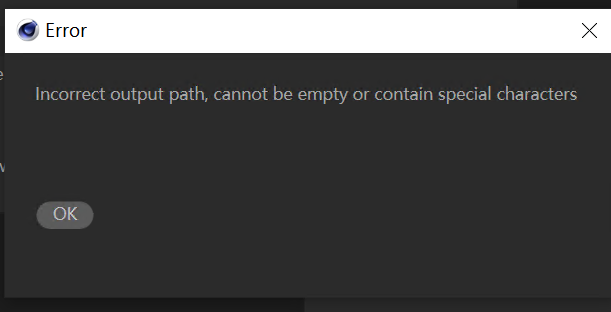
Note: If the output path is not set in the scene or the output path is incorrect, an error will be reported during submission.
5. View job Status and Download Results
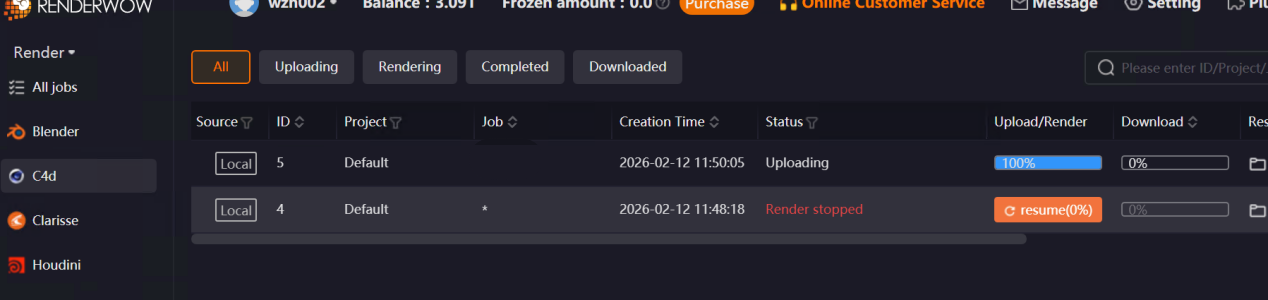
After the job is successfully submitted, you can view the job in the Renderwow client. The job will automatically go through the [Package → Upload → Render → Download] complete process. After the job is complete, the render results will be automatically saved to the previously set output path.
For detailed feature descriptions, please refer to : Cinema 4D Renderwow Plugin Functionality