
 3ds Max
 Blender
 Keyshot
 Cinema4D
 SketchUp
 Rhino
Rhino Maya/Houdini/Clarisse/Katana/

KeyShot Submission Tutorial
Overview
Renderwow supports render job submission for KeyShot versions 10 to 14, using the convenient drag-and-drop scene file to client submission method. During submission, the scene render settings will be automatically recognized: if the scene is set to single frame render, it will automatically jump to the still submission interface; if the scene is set to multi-frame render, it will automatically jump to the animation submission interface, without manual switching.
Submission Workflow
1. Install Renderwow Plug-in
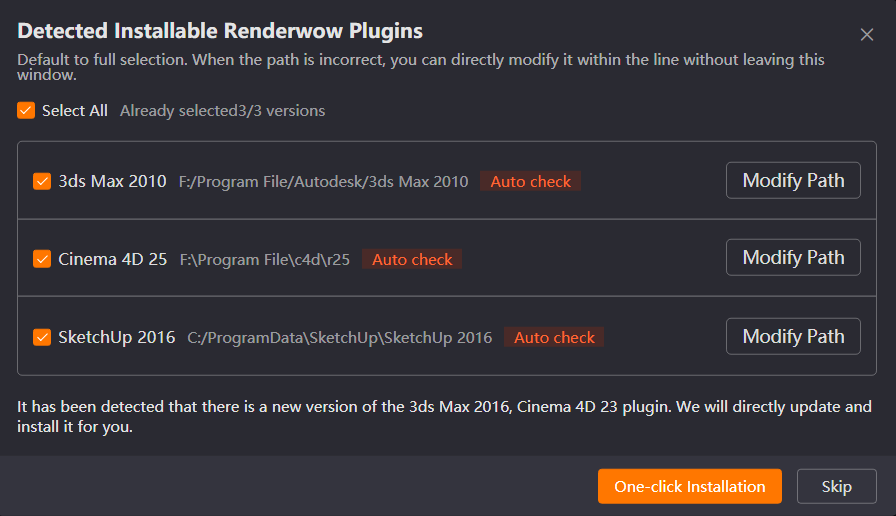
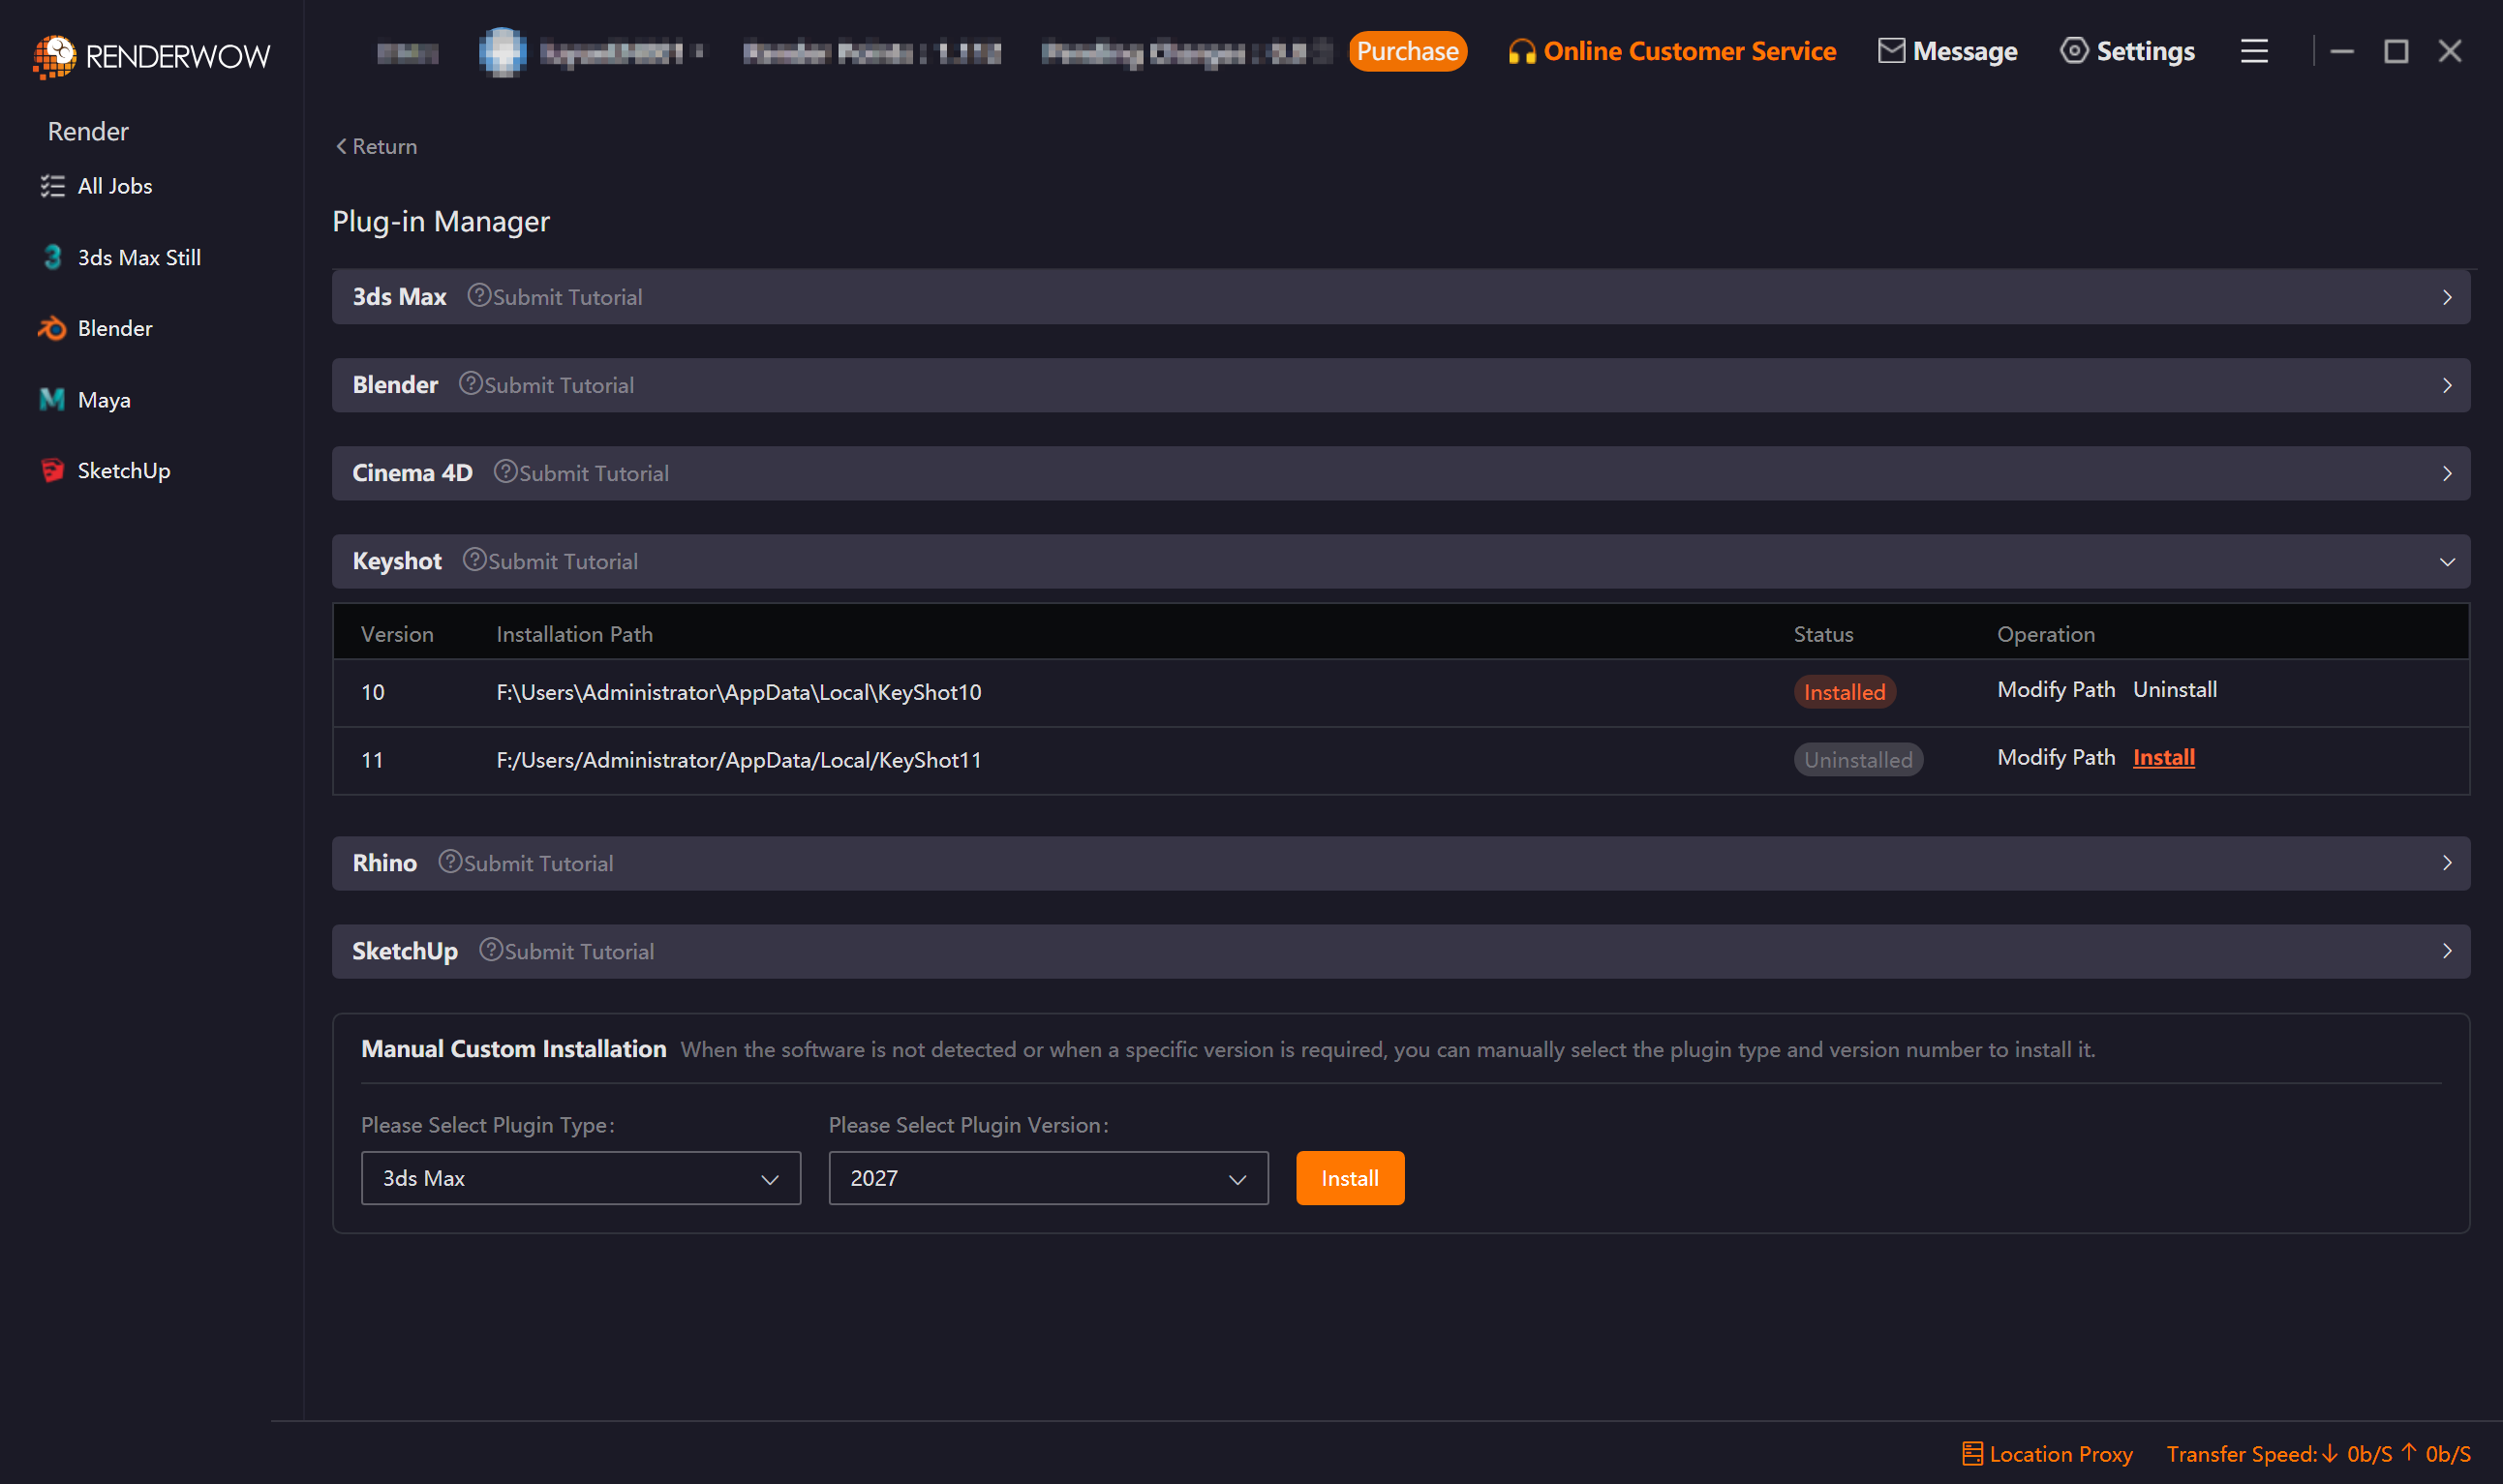
Launch the Renderwow Client. Install the Renderwow plugin matching your local KeyShot version either from the automatic plugin detection popup or by navigating to the [Plug-in Manager] page. Once the installation is complete, Renderwow will display an [Installation Successful] notification, and the corresponding KeyShot version in the list will show as Installed.
2. Drag .bip Scene File to Client
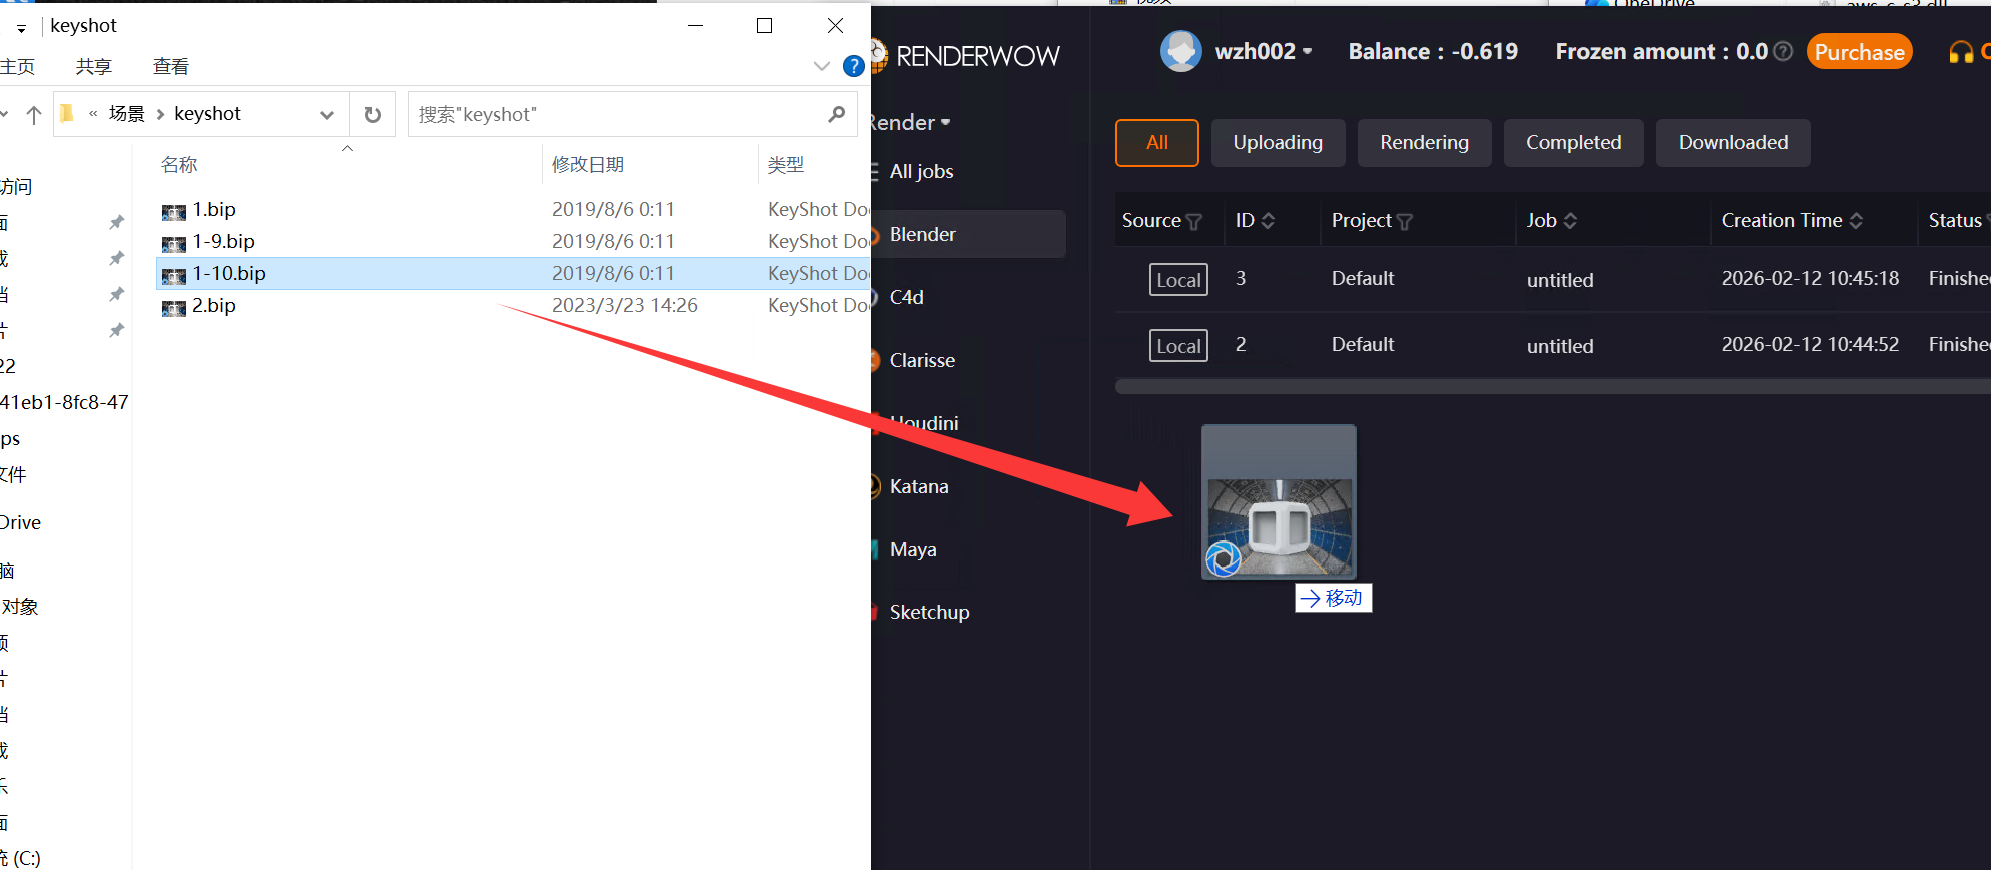
After plug-in installation is complete, first configure the render scene-related parameters in the local KeyShot software. After confirming they are correct, save as .bip format file, then drag the scene file to any blank area of the Renderwow client to trigger the job submission process.
Note:
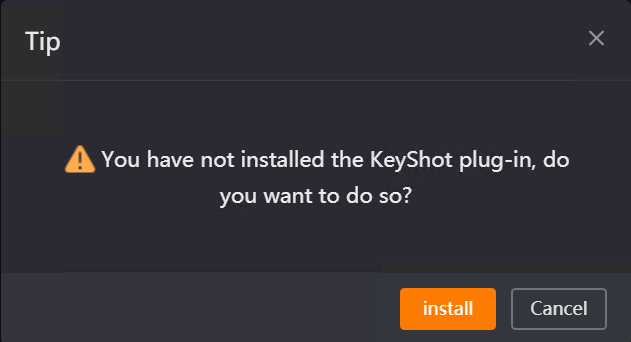
If the KeyShot Renderwow plug-in is not installed and you directly drag the scene file to the client, Renderwow will pop up a prompt. Clicking the [Install] button will automatically jump to the [Plug-in Manager] page. After completing the plug-in installation, you can submit the job.
Currently, Renderwow only supports .bip format KeyShot scene files for drag-and-drop submission. If you drag other format files, Renderwow will pop up a format not supported prompt. You need to re-export to the correct format before submitting.
3. Set KeyShot Version and Render Output Path
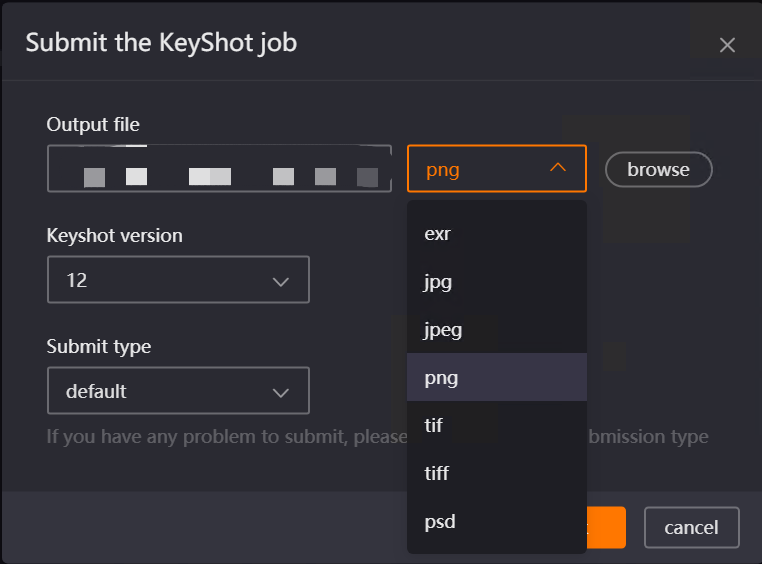
After the scene file is successfully dragged, Renderwow will automatically pop up the job submission window. Click the [Browse] button in the pop-up to open the output directory selection page, select the save path for the render results and enter the file name; then select the required output file format (such as jpg, png, exr, etc.) from the format dropdown list, and select the KeyShot version matching the local scene. After all settings are complete, click the [OK] button.
Important reminder: If the output file format is not selected, Renderwow will pop up a [Please select format] prompt after clicking [OK]. You need to select the format before submitting.
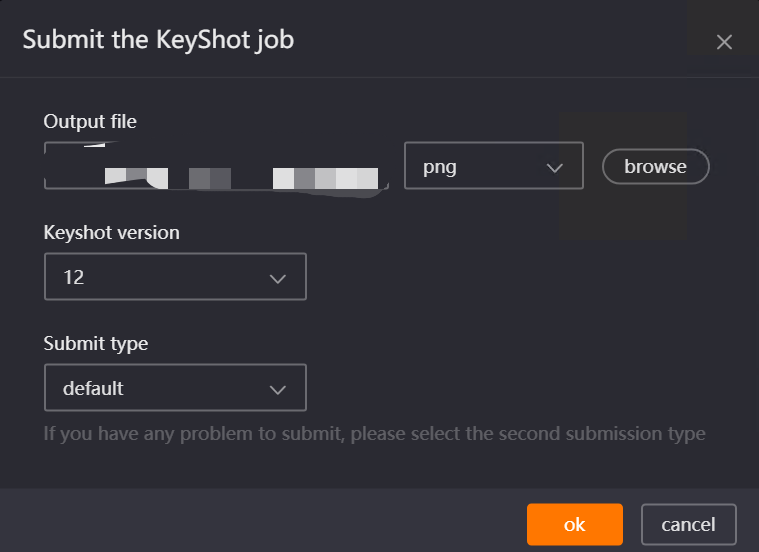
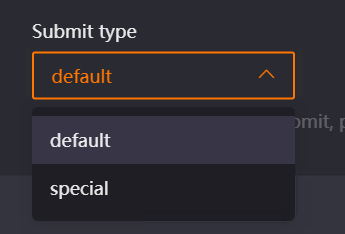
Note: If an exception occurs during job submission (such as submission failure, unable to recognize the scene, etc.), you can re-drag the scene file to the client, select [Special] in [Submit Type] in the submission pop-up, and then re-complete the settings and submit. This can effectively resolve most submission exceptions.
4. Wait for Scene to Automatically Open
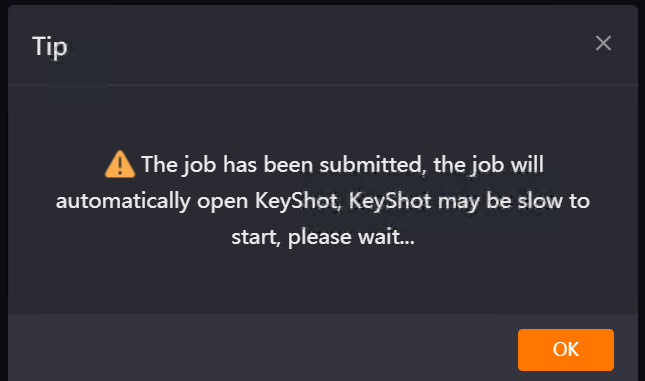
After completing the version and output path settings and clicking [OK], Renderwow will pop up a prompt indicating [job has been submitted. The job will automatically open KeyShot after submission. KeyShot startup may be slow, please wait]. At this point, no manual operation is needed. Wait patiently, and Renderwow will automatically launch KeyShot software and open the submitted render scene.
5. Confirm Render Parameters
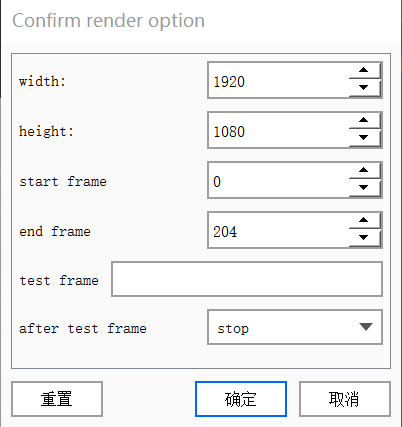
After KeyShot software launches and opens the scene, Renderwow will automatically pop up a [Confirm Render option] window. Carefully check the render parameters in the pop-up (such as width, height, frame count, etc.). After confirming they are correct, click the [OK] button. According to the scene’s render settings (single frame / multi-frame), the corresponding parameter confirmation pop-up for still or animation will appear respectively. Check as needed.
Animation Job Parameter Confirmation:
Still Job Parameter Confirmation:
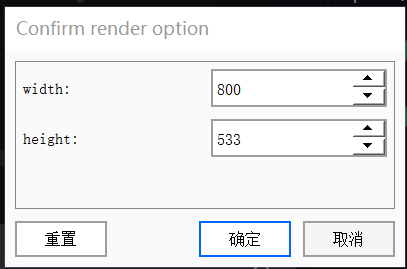
6. Job Submission and Progress Tracking
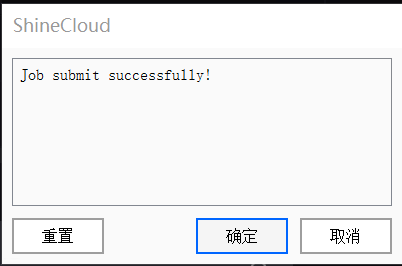
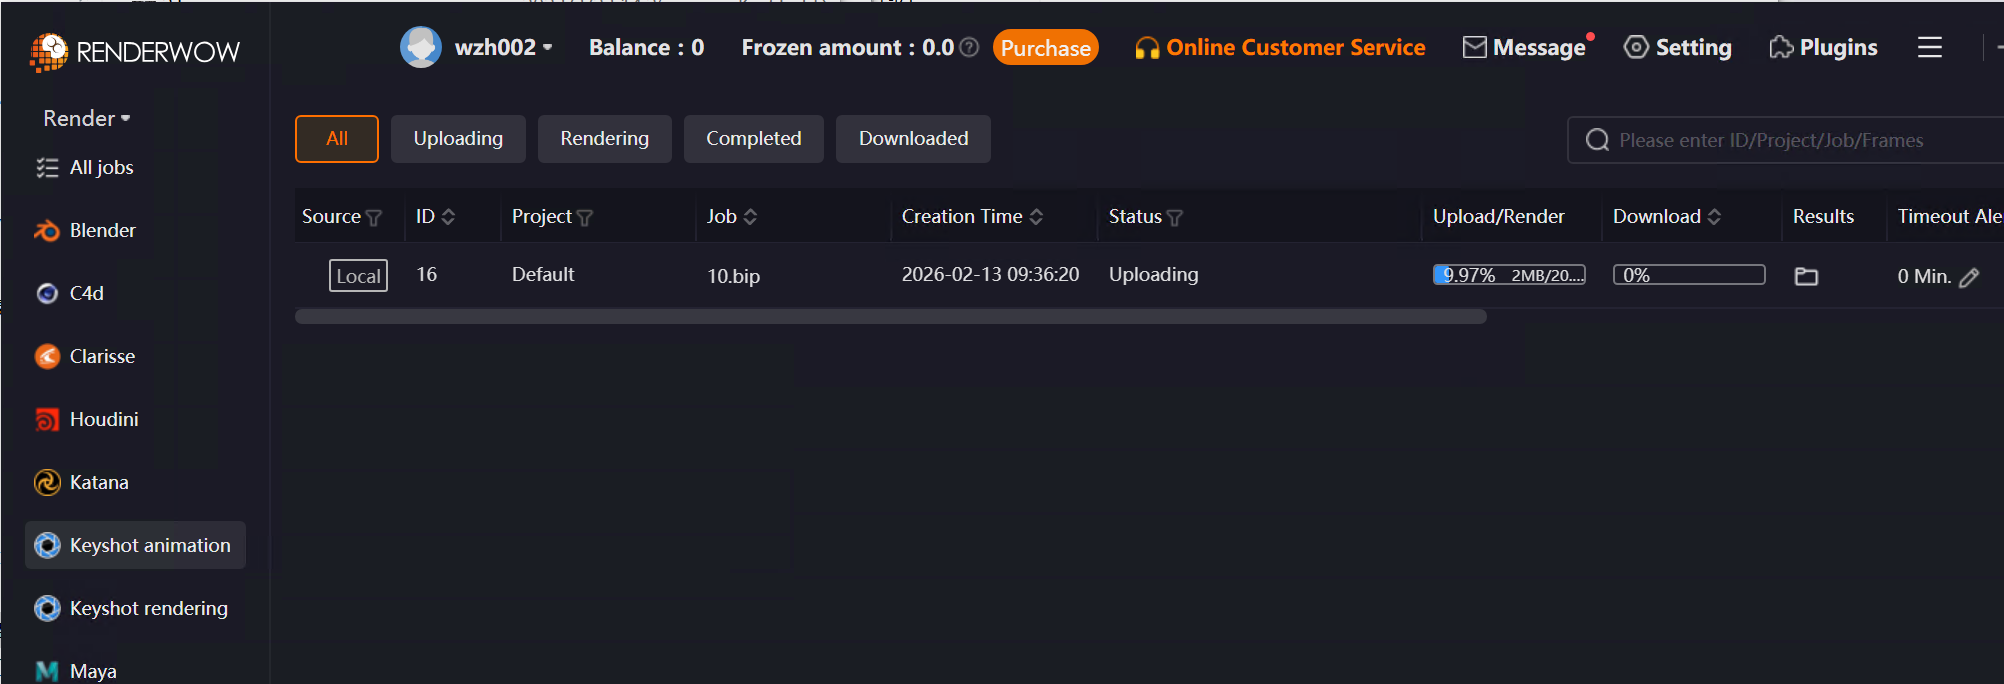
After render parameter confirmation is complete, Renderwow will pop up a [Job Submission Complete] prompt. Click [OK]. At this point, return to the Renderwow client, and you can find the just-submitted job in the job list. The job will automatically go through [Package → Upload → Render → Download]. After the job is complete, the render results will be automatically saved to the previously set output path.
For detailed feature descriptions, please refer to : KeyShot Renderwow Plugin Functionality