


Renderwow
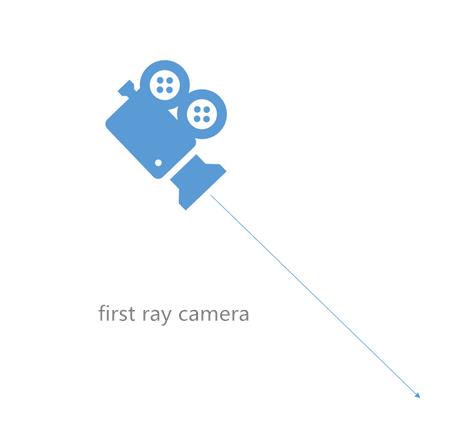
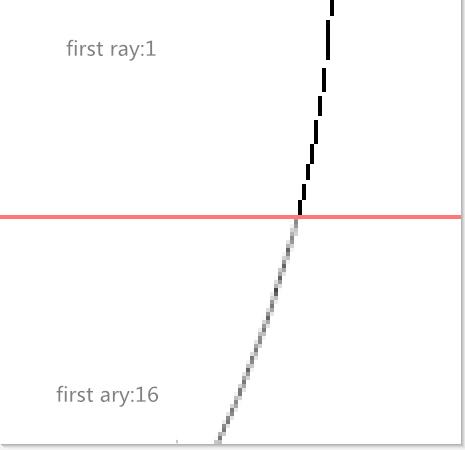
Anti-aliasing sampling, it is accomplished by the first ray emitted by the camera:
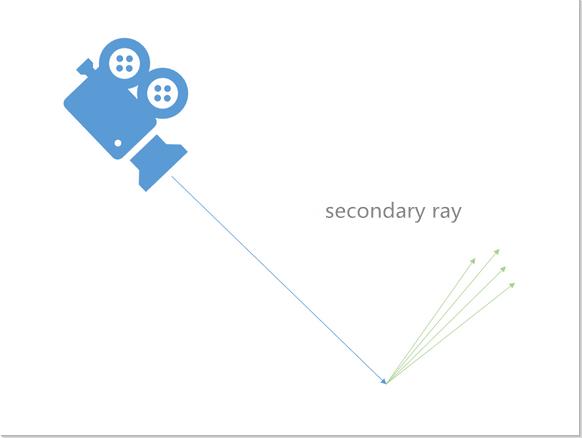
Colored sampling, influencing the colour of the material, it is accomplished by various types of secondary rays. Secondary rays are emitted from the intersection of the first ray and the model geometry. A first ray corresponds to one or more secondary rays.
So these two samples, each is useful:
The more anti-aliasing sampling, there will be less noise on the edges of the geometry, on the thin line models, on the high frequency textures, on the depth of field, on motion blur, etc, the better the anti-aliasing quality of the image.
The more shading samples, soft shadow edge, material reflection blur, refraction blur, GI and other noise points will be less, the better the shading quality of the material.
So for different types of scenarios, our sampling focus is different.
If the scene is mainly represented by texture and lighting effects, so you have to increase the number of secondary rays. By contrast, anti-aliasing sampling does not need to be so high, most architectural renderings fall into this category.
If there is a lot of depth blur and motion blur in the scene, or there are lots of tiny models, such as hair , so anti-aliasing sampling should be focused, each of the first rays doesn't have to be followed by this many levels.
So how to control the anti-aliasing focus of v-ray samples and coloring samples during sampling? If it's a 2.x version of v-ray, you need to manually modify the subdivision of each light and material, this is a practical experience. if it's a 3.X version of v-ray, that's easy , 3ds Max users can just turn off "Use Local Subdivs" in the global DMC panel.
Then adjust Shading Rate:
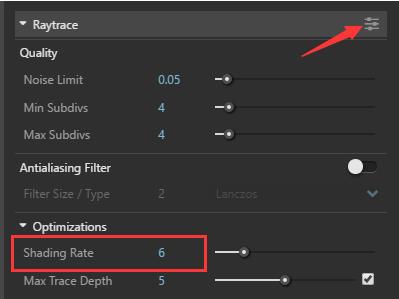
SketchUp interface:
3ds Max interface:
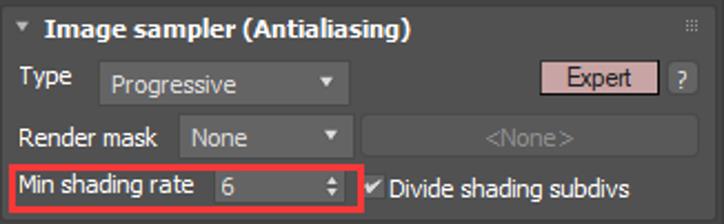
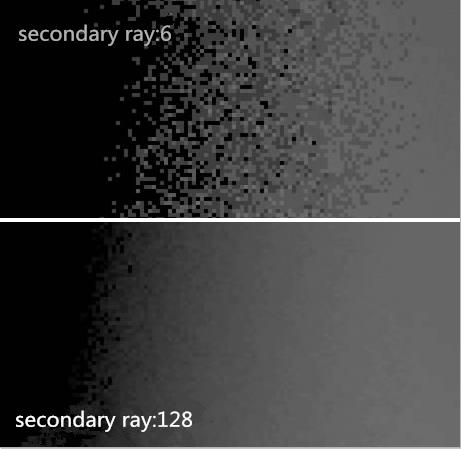
The default value officially recommended is 6, is applicable to most of the scene,high efficiency, The quality is good, you don't have to change it. If your scene clearly focuses on depth of field and motion blur, you need to change this value to 1 or 2. If you're still not satisfied with the quality of the shading of the scene, you can try to make this really big, such as 128, the sampling is going to focus on coloring, but at the same time, it will increase the rendering time accordingly, time won't be wasted, the picture quality will definitely improve, weigh your options.
Again,the default 6 applies to most scenarios, it's the balance between time and mass. so normally you don't have to change, Change may be self-defeating.


