Cinema 4D Renderwow Plugin Functionality
6.1 Overview
The Renderwow platform supports Cinema 4D versions R16-R23, S24, R25-R26, and 2023-2026, as well as commonly used renderers (such as Redshift, Octane Render, V-Ray, Corona, etc.) for job submission. Currently, job submission is performed via the Renderwow plugin within Cinema 4D.
The complete submission workflow for a Renderwow Cinema 4D cloud rendering job is as follows:
1. Submission Preparation
-
Open the Renderwow client, navigate to the [Plugin Management] page, select [Cinema 4D] from the plugin type list, and choose the version corresponding to your local Cinema 4D installation from the version list. Click the [Install] button. Then manually select the local Cinema 4D installation path (if Cinema 4D is installed in the default path, Renderwow can automatically detect it without manual selection). After the plugin installation is complete, Renderwow will display an [Installation Successful] prompt, and the corresponding Cinema 4D version and installation path information can be viewed in the [Installed Plugins] list.
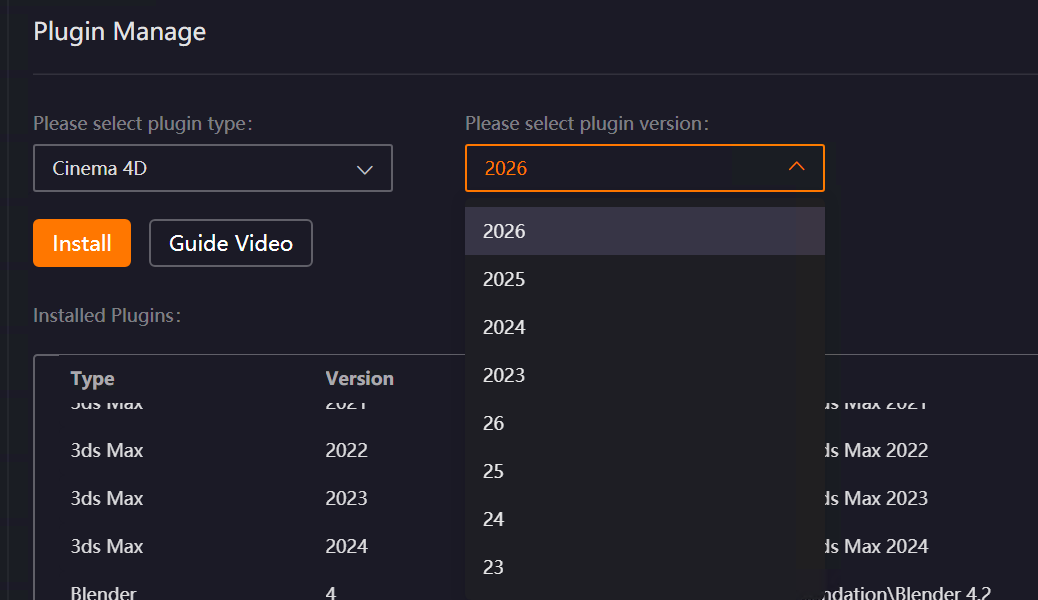
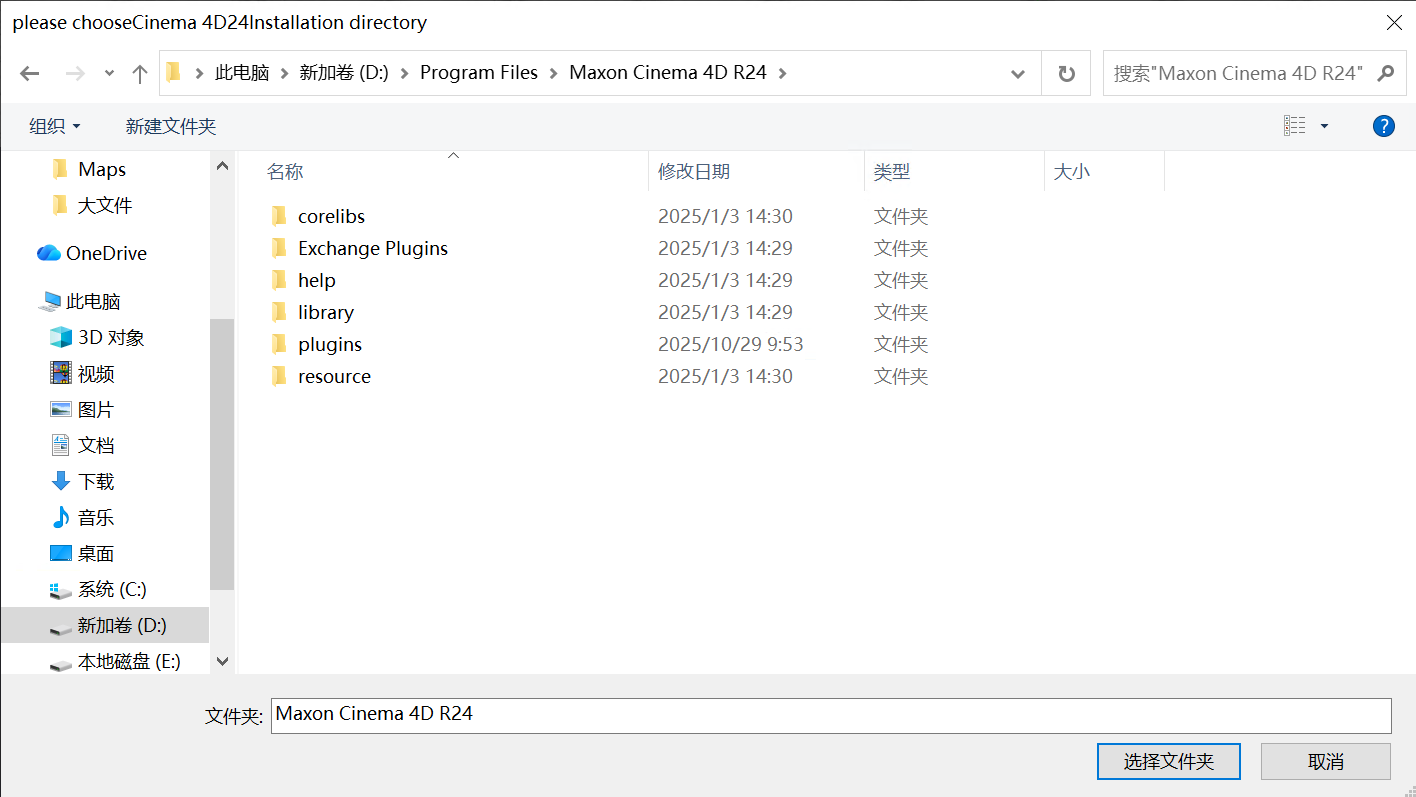
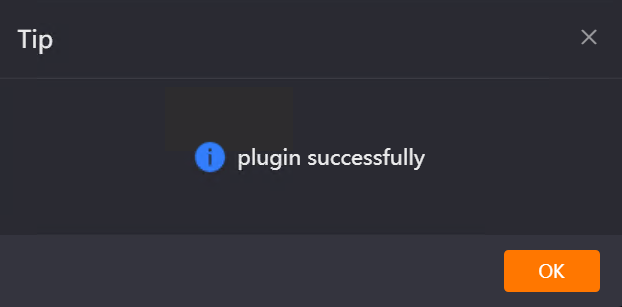
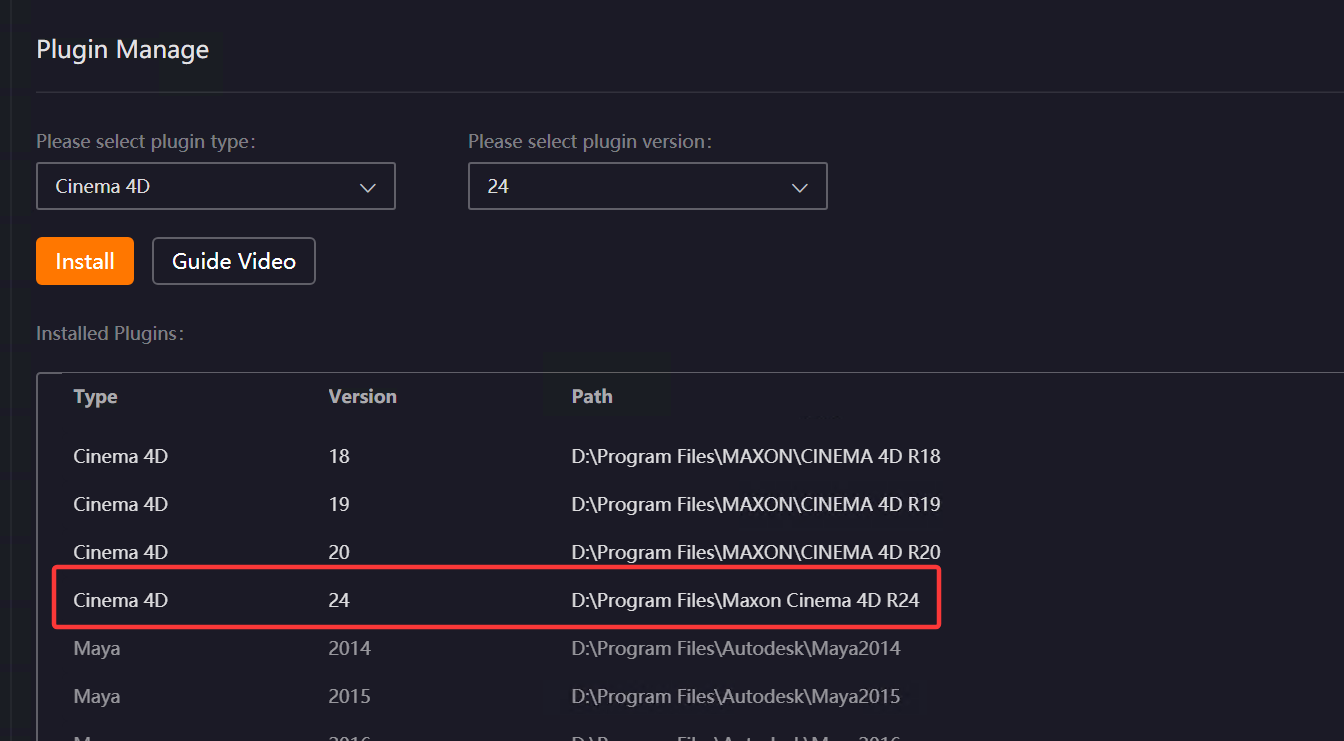
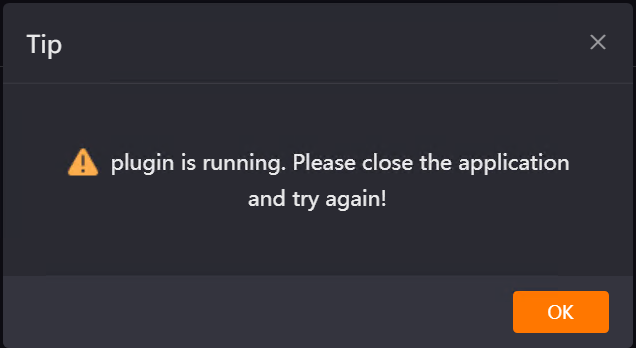
Note: If Cinema 4D is running during plugin installation, installation will fail and an error will occur.
2. Opening the Renderwow Cinema 4D Plugin
-
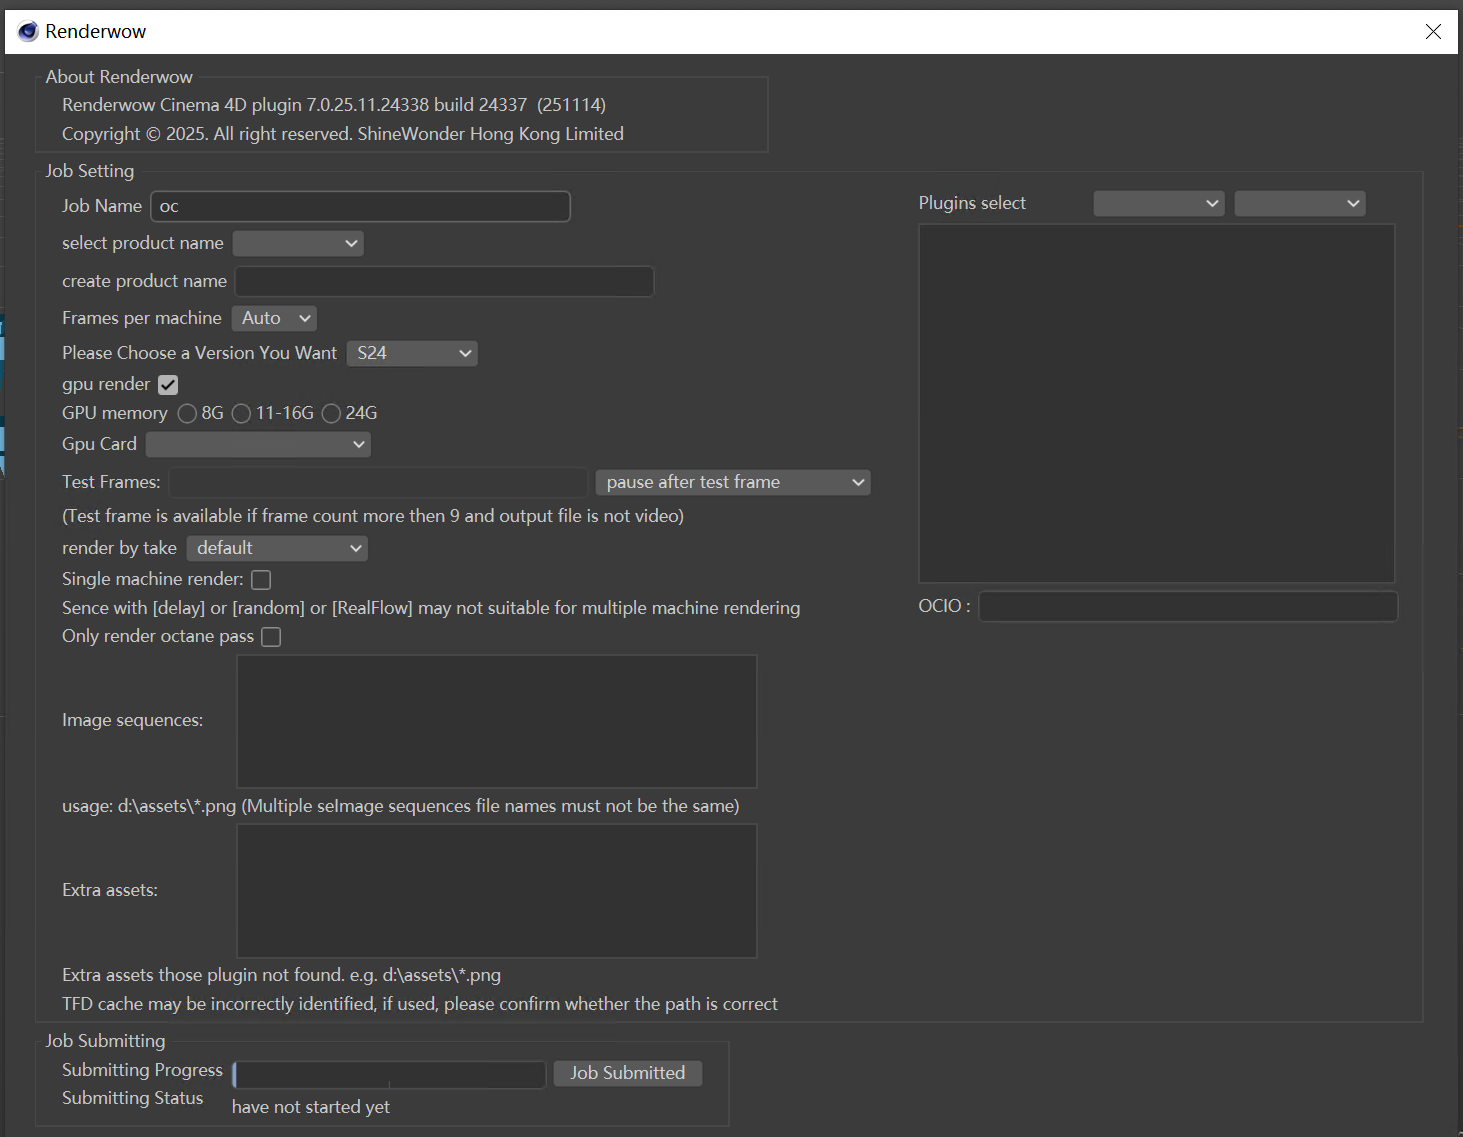
After the plugin installation is complete, launch the local Cinema 4D software. After configuring the relevant parameters for the rendering scene (such as output path, rendering resolution, and other necessary information), locate the [Extensions] option in the top menu bar, click the dropdown menu, and select [Renderwow] from the list to open the Renderwow submission interface.

3. Configuring Submission Parameters
-
In the plugin submission interface, configure the Job Name, project name, frames per machine, version selection, GPU rendering, and other parameters sequentially according to your scene requirements. If the scene uses image sequences or additional resources not automatically recognized by the plugin, manually add the resource paths in the corresponding input fields to ensure that resources can be uploaded normally before preparing to submit the job.
4. Submitting the Job to the Renderwow Client
-
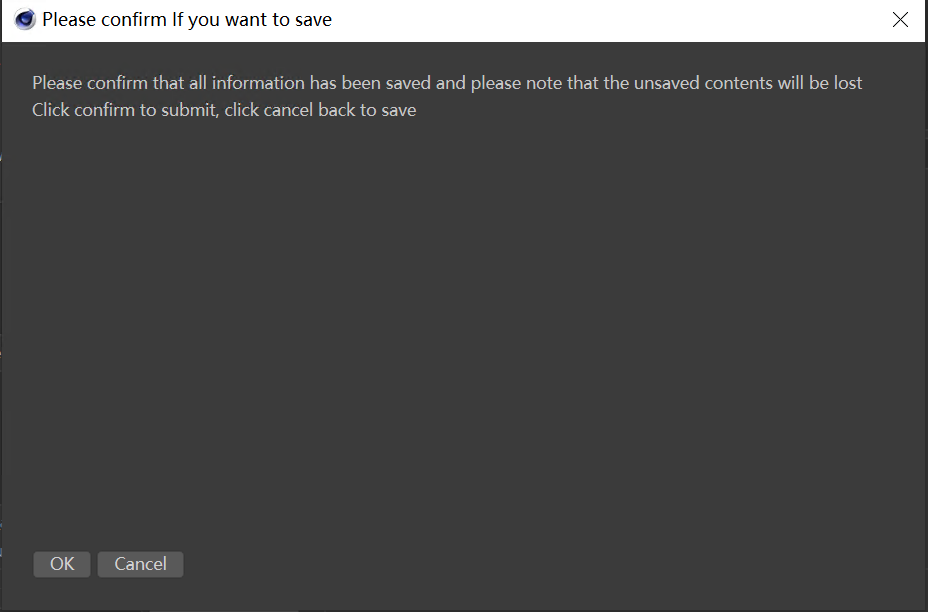
After the previous step, click the "Submit Job" button in the plugin submission interface. A first confirmation dialog will appear, prompting: "Please confirm that all information has been saved; unsaved content will be lost." Click "OK" to proceed with submission, or click "Cancel" to return and modify the scene or parameters.
-
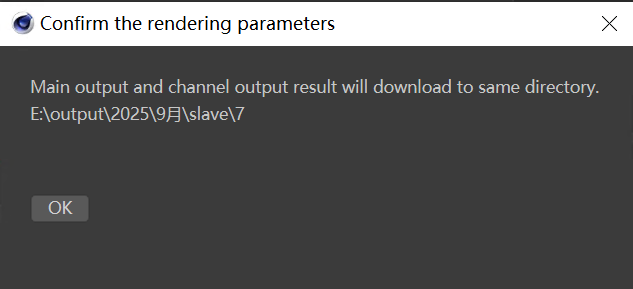
After clicking "OK," a second confirmation dialog will appear, prompting: "Channel output and main output will be downloaded to the same directory." Click "OK" to proceed to the next step.
-
The submission status will display "Renaming all resource files within the project." Renderwow will automatically rename all resource files associated with the scene to facilitate uploading and rendering recognition.

-
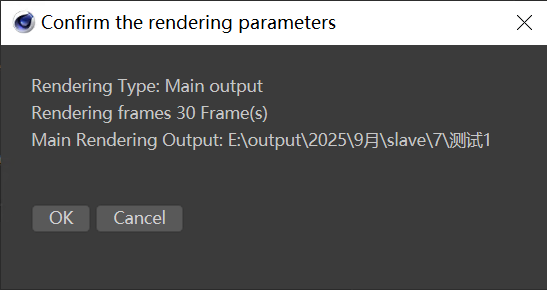
After resource renaming is complete, the submission status will change to "Retrieving rendering settings." Renderwow will automatically read the scene’s rendering settings and display a new rendering parameter confirmation dialog, indicating the rendering type, frame range, main rendering output path, and other information. Click "OK" to proceed with submission, or click "Cancel" to reconfigure parameters.

-
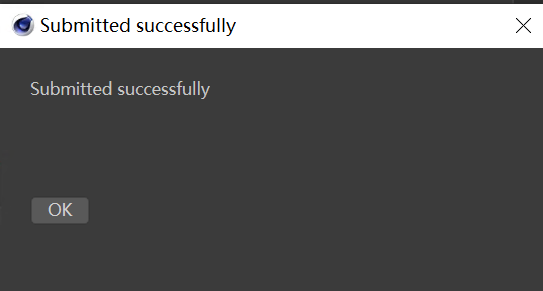
After confirmation, Renderwow will begin uploading resources and submitting the job. When the submission status displays "Complete," a "Submission Successful!" prompt dialog will appear. Click "OK" to finish.

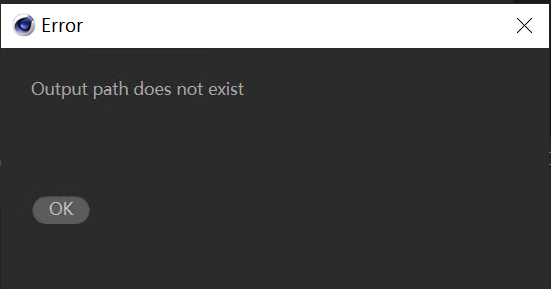
Note: If the output path is not set in the scene or the output path is incorrect, an error will occur during submission.
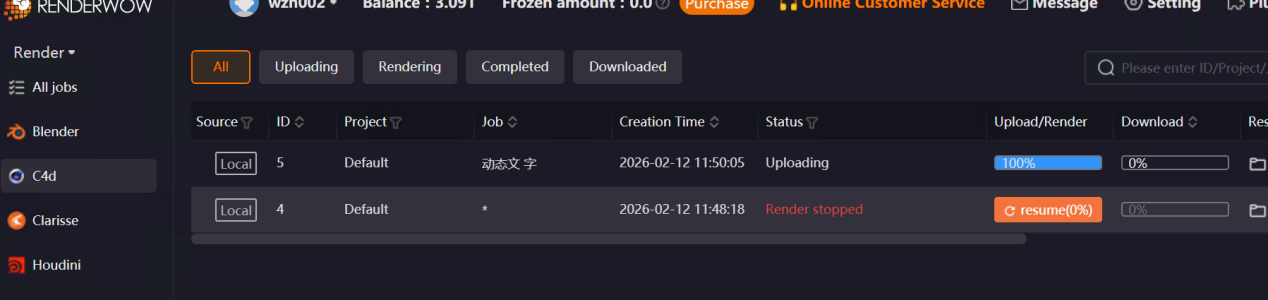
5. Viewing Job Status and Downloading Results
-
After the job is successfully submitted, it can be viewed in the Renderwow client. The job will automatically go through the complete workflow of [Packaging → Uploading → Rendering → Downloading]. Once the job is completed, the rendering results will be automatically saved to the previously set output path.
6.2 Submission Interface Parameter Details
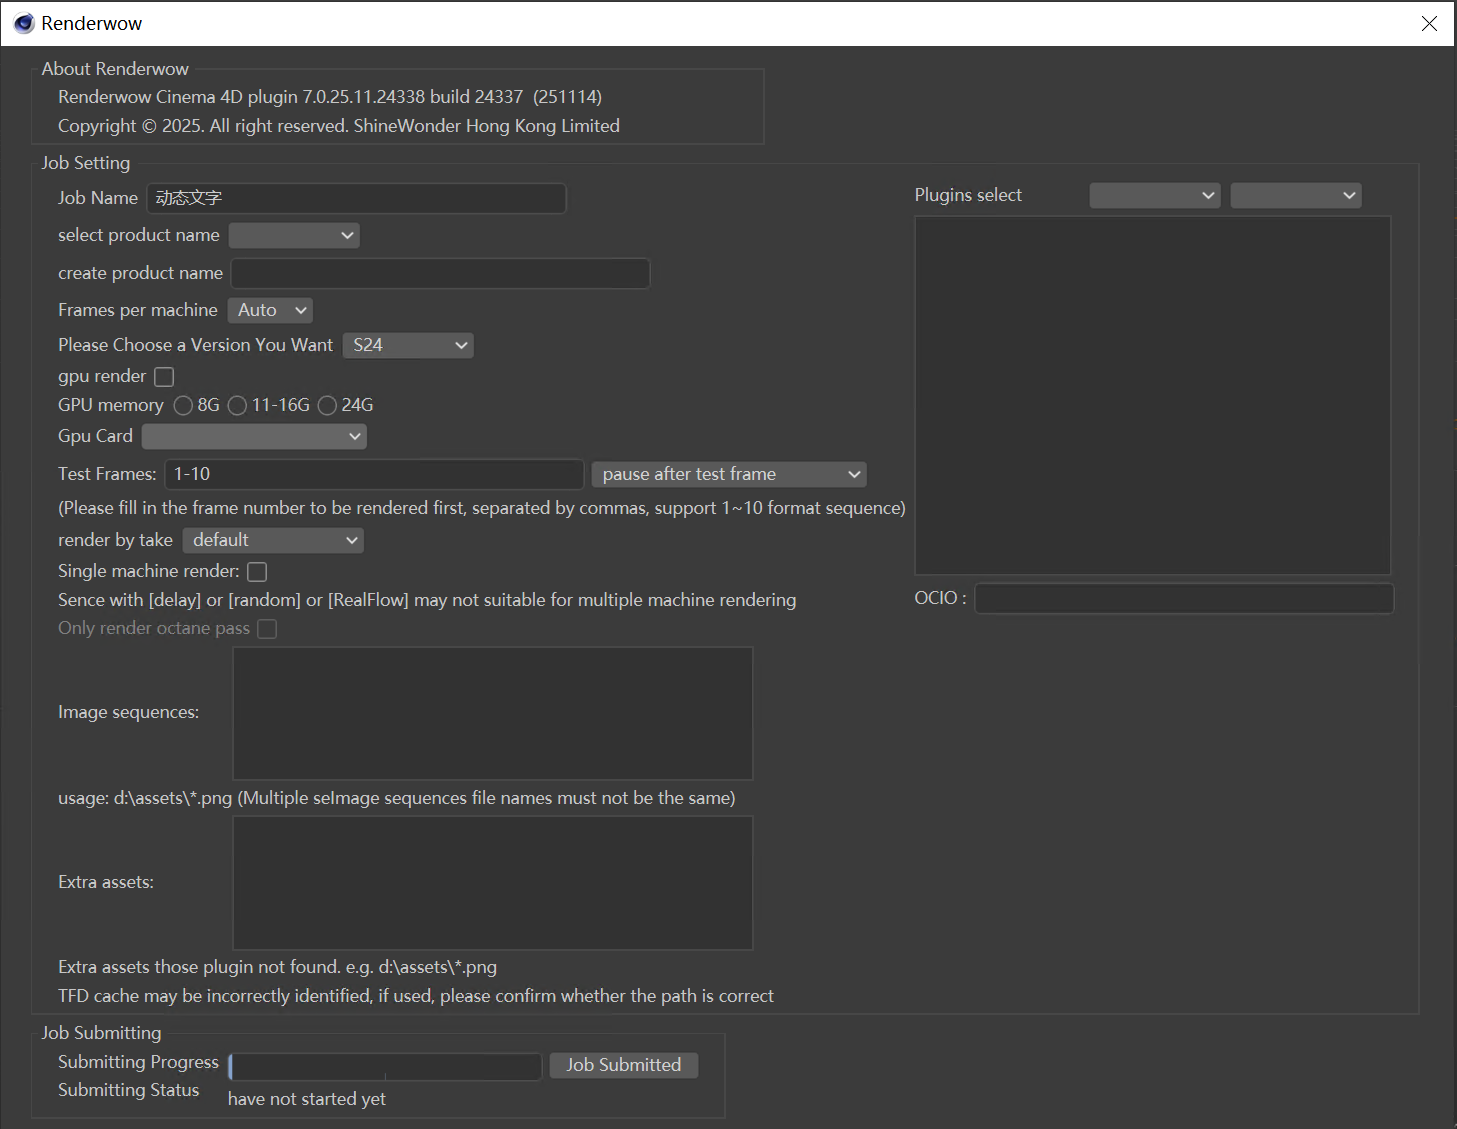
Job Name
-
By default, the name of the currently opened Cinema 4D scene is displayed. You can edit this manually to differentiate tasks.
-
Note: The Job Name cannot be empty and must not contain special characters; otherwise, a submission error will occur.

Project Name
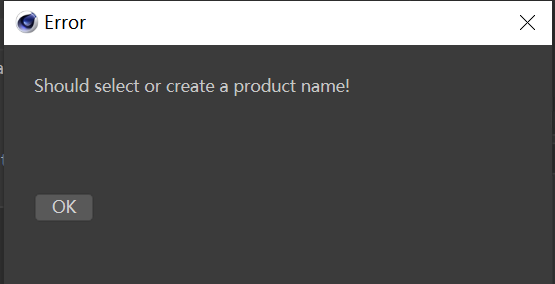
Used for classifying and managing multiple rendering tasks, facilitating quick filtering of similar tasks in the client later. This field is generally optional. Supports selecting an existing project name or creating a new one.
-
Select Project Name: Click the dropdown at "Select Project Name" to choose from project names added or displayed in "Client → Settings → Project Management" under the currently logged-in Renderwow client account.
-
Create New Project Name: Manual input is supported at "New Project Name" to add a new project name.Once created, this project name will be automatically selected the next time you open the submission interface.
Note: If the "Project Name Required" feature is enabled, submitting a job without filling in the project name will result in an error.
Frames Per Machine
Used to control the number of frames rendered by each cloud rendering machine per batch. The default selection is "Auto." After job submission, the cloud will optimize the allocation of frames per machine based on the complexity of the Cinema 4D scene, frame count, and other actual conditions, reducing overall rendering time. Custom selection of frames per machine is also supported; the cloud will render exactly the specified number of frames per machine.
Note: If you wish to render one frame per machine, please contact customer service to enable this feature.
Version Selection
Used to set the cloud rendering version. By default, the currently opened Cinema 4D software version is displayed to ensure compatibility with the local scene version. Manual selection of a higher Cinema 4D version for job submission is also supported; choose the appropriate version based on scene requirements and rendering compatibility.
GPU Render, GPU Memory, GPU Card
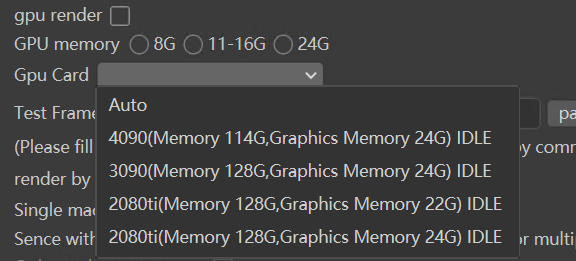
Used to distinguish between CPU rendering and GPU rendering, which will dispatch different data center resources. The scene type is automatically detected. If the current scene is a GPU rendering scene, this option will be checked by default. Manual selection of GPU memory (8GB, 11-16GB, 24GB) and GPU Card type is supported to accommodate different GPU rendering requirements.
Note: Octane 3 version does not support GPU Memory selection; Octane 4.04, V4.05-R7, 2020.1.5_R4, and 2020.2.1-R3 versions do not support 24GB GPU Memory; Redshift 2 version does not support GPU Memory selection.
Test Frames
Used to set whether to perform test rendering before full rendering and the rendering rules after testing. The available modes are as follows:
-
Full Speed Without Test Frame: Proceed directly to full-speed rendering without test frame rendering. Test frames cannot be entered in this mode.
-
Pause After Test Frame: After test frame rendering is complete, the job will be paused and must be manually resumed to continue rendering.
-
Full-Speed After Test Frame: After test frame rendering is complete, the job will automatically switch to full-speed rendering mode without manual intervention.
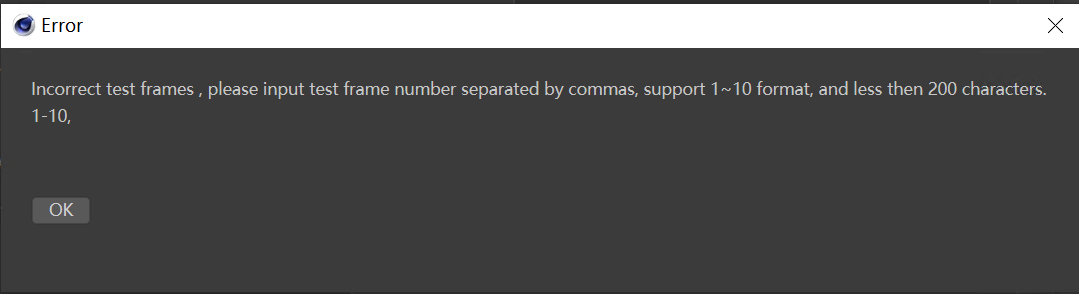
Test frames support discrete frames (1,5,8) and continuous frames (1~10). Multiple formats can be combined (15,715,20), separated by commas.
Notes:
-
The test frame feature is only available when the output is a non-video format and the frame count exceeds 9.
-
If the test frame format is entered incorrectly, an error prompt will appear.
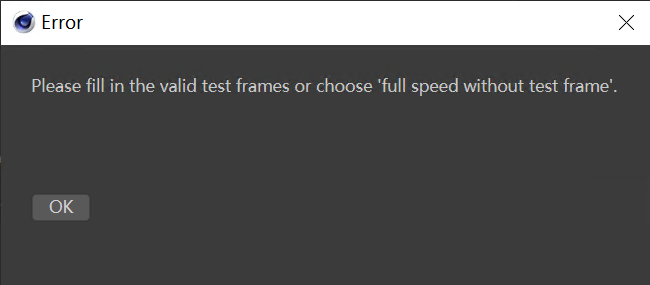
-
If "Pause After Test Frame" or "Full-Speed After Test Frame" is selected but no test frames are entered, an error prompt will appear.
Render By Take
Supports submission of tasks with multiple render settings and multiple takes, allowing flexible selection of submission methods based on scene rendering requirements.
-
Default: Tasks are submitted only according to the render settings marked in the scene; unmarked render settings will not be submitted.
-
Marked Takes Only: All marked takes will be submitted as separate tasks, with the corresponding take name appended to each job for easy identification. Note: If no takes are marked in the scene, job submission will not be possible.
-
All Takes: All takes in the scene will be submitted as separate tasks, with the corresponding take name appended to each job. This is suitable for scenes requiring rendering of all takes.
Notes:
-
This feature is only supported in Cinema 4D R20 and later.
-
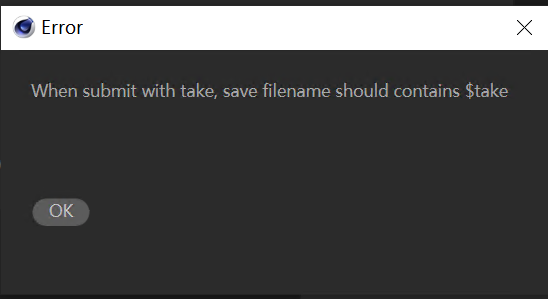
If multiple takes are marked and you select 'Marked Takes Only' or 'All Takes', you must include a $take token in the scene output path or file name to prevent multiple take results from being overwritten. Without this token, a submission error will occur.
Single Machine Render
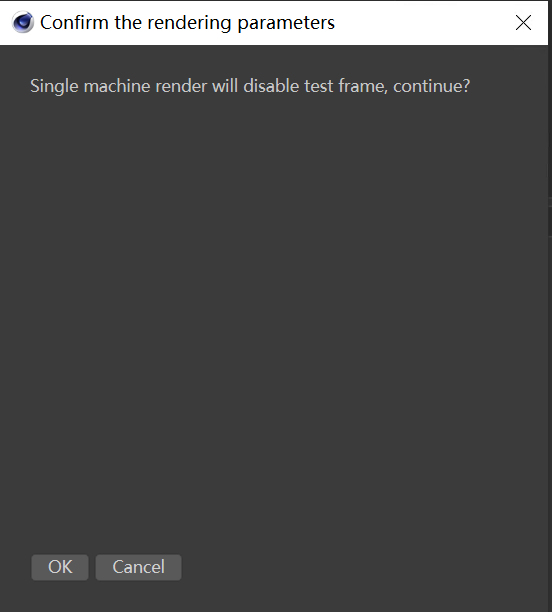
If the scene uses delay, random, or RealFlow effects, checking this option ensures that a single Cinema 4D rendering job is completed on only one machine, avoiding effect discrepancies caused by multi-machine rendering.
Note: If Single machine render is checked, the Test Frames feature cannot be used, and a prompt will appear.
Only Render Octane Pass
When this option is checked, Renderwow will render only the Octane pass files and will not render the main image. This is suitable for scenes that require only pass files for post-processing.
Image Sequences
Used to manually add paths to image sequences that the plugin may not automatically recognize. The "*" wildcard can be used in the file name to quickly match multiple sequence frame files.
-
Example: Entering "d:\Cinema 4D\scene\1*.png" Renderwow will automatically upload all matching sequence files in the "d:\Cinema 4D\scene" directory that start with "1" and end with ".png" during job submission.
Note: The file names of the added image sequences must not be duplicated; otherwise, resource upload will fail.
Extra Assets
Used to add scene-related resources not automatically recognized by the plugin. Supports using the "*" wildcard in the file name to quickly match multiple resource files.
-
Example: Entering "d:\Cinema 4D\scene\1*.png" Renderwow will automatically upload all resource files matching the criteria in that path during job submission.
-
Auto-recognition Rules: If the "use other config file" path is set in the Octane settings of the scene file, or if the scene file contains TurbulenceFD cache files, that path will be automatically recognized and added to the Extra assets.
Notes:
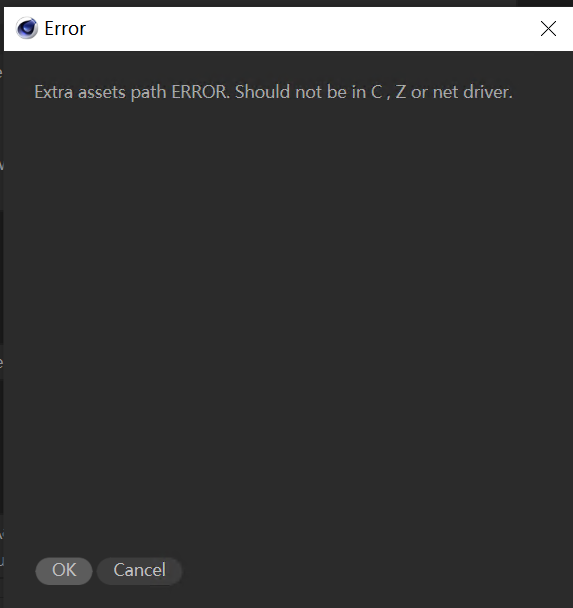
-
The path for Extra assets must not use the C drive, Z drive, or network drive letters, as this may prevent resources from uploading properly and will result in an upload error.
-
TurbulenceFD cache paths may not be recognized correctly. If this plugin is used in the scene, manually verify whether the cache file path is correct, and the cache path must not contain Chinese characters, special characters, or spaces.
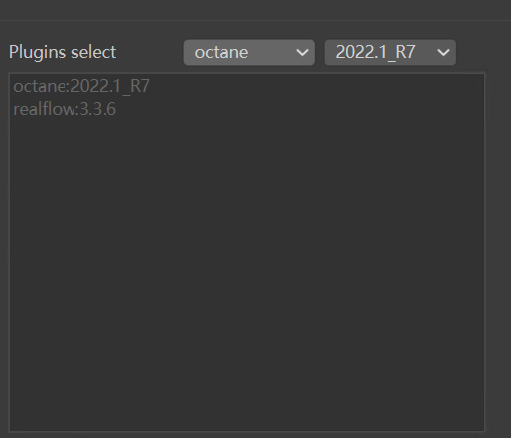
Plugins Select
Supports manual selection of the corresponding plugin and plugin version based on actual scene requirements, preventing rendering failures caused by plugin mismatches.
Select the plugin from the left dropdown; the right side will automatically display the versions supported by that plugin. Select the desired version to display it in the list below. To remove a selection, reselect the plugin on the left and select "None" on the right.
OCIO
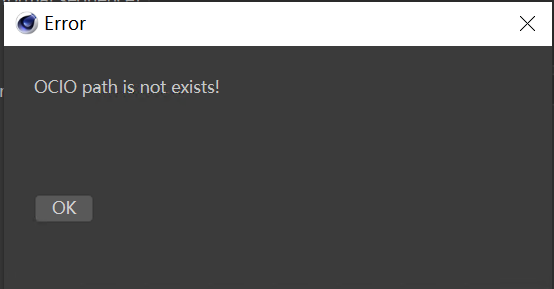
If the "Environment config file" path is configured in the Octane settings of the scene file, the system will automatically recognize and display it in the OCIO parameter field. Manual input and modification are also supported.
Note: The OCIO path must not contain Chinese characters or special characters.