KeyShot Renderwow Plugin Features
8.1 Overview
The Renderwow platform supports rendering job submission for KeyShot versions 10 through 14. The current submission method allows users to conveniently drag and drop scene files into the client. During submission, the scene rendering settings are automatically detected: if the scene is configured for single-frame rendering, the system automatically navigates to the still image submission interface; if the scene is configured for multi-frame rendering, the system automatically navigates to the animation submission interface, with no manual switching required.
The complete submission workflow for Renderwow KeyShot cloud rendering jobs is as follows:
1. Install the Renderwow Plugin
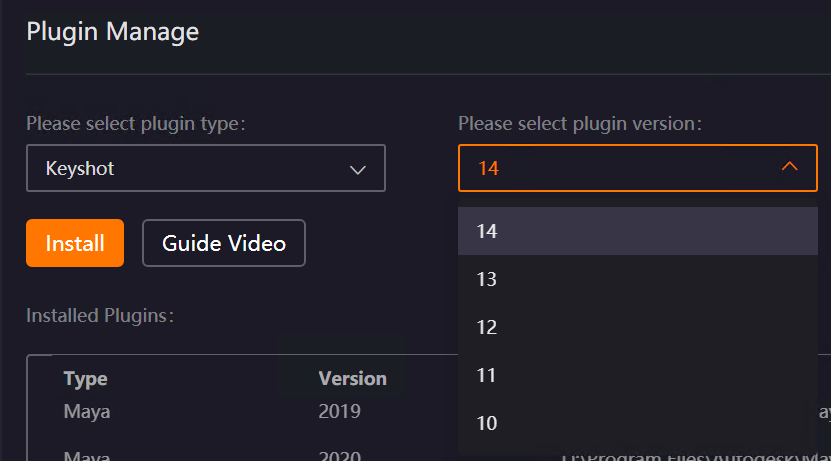
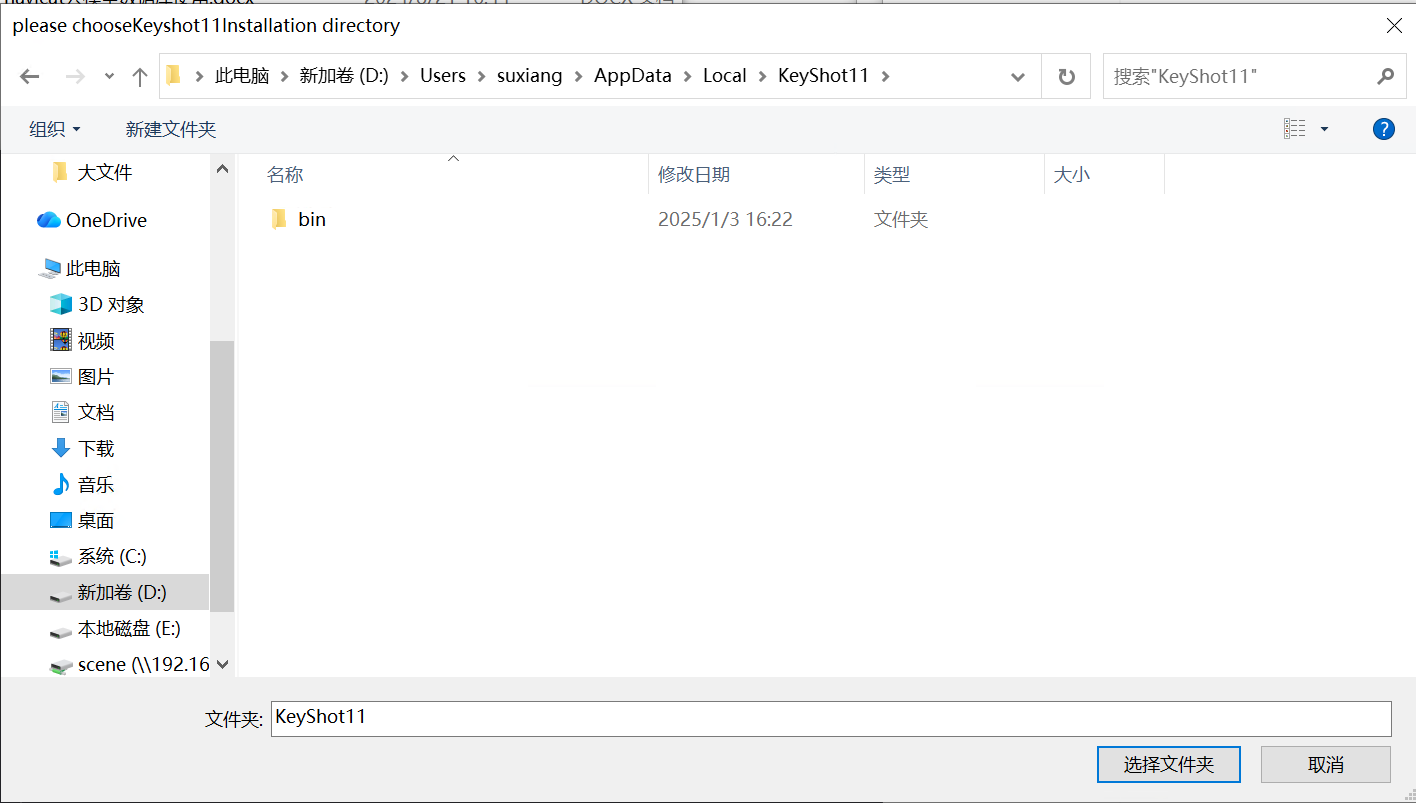
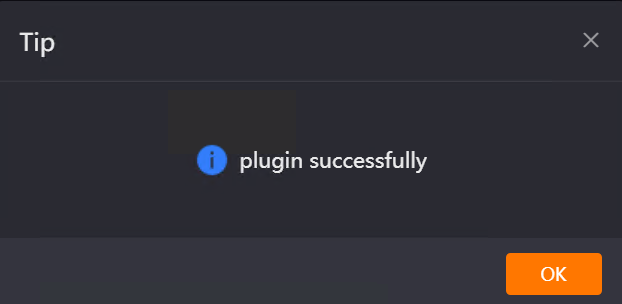
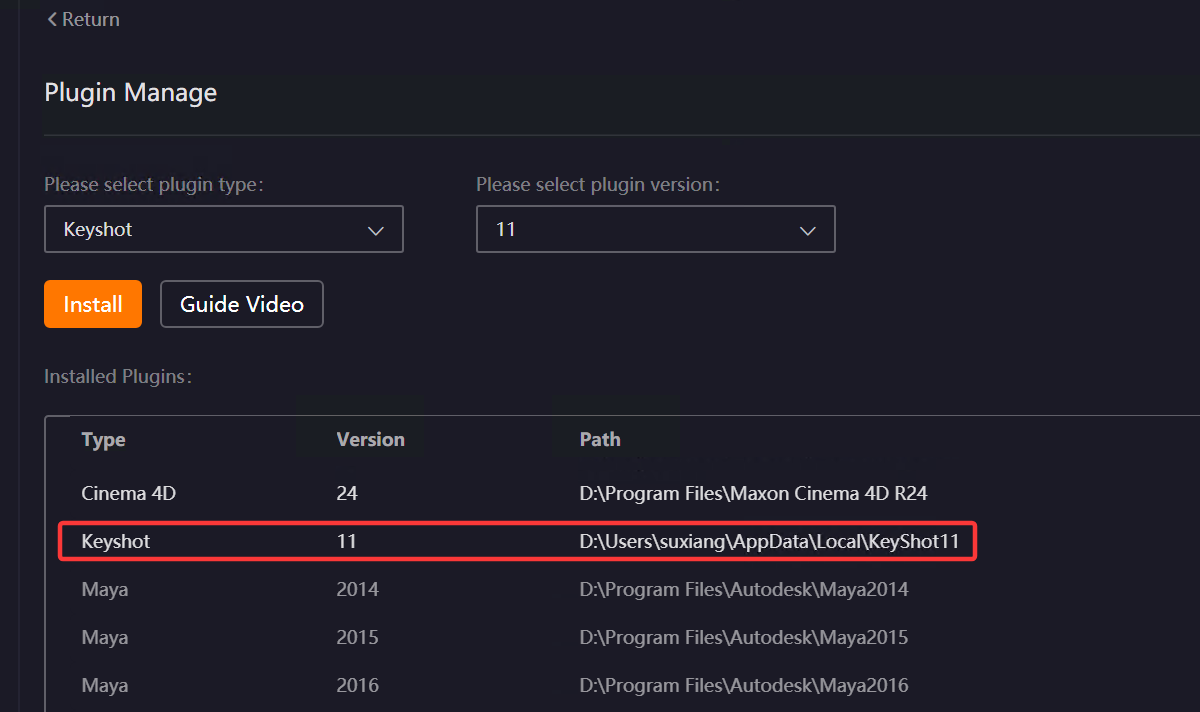
Open the Renderwow client and navigate to the [Plug-in Manage] page. Under the plugin type, select [KeyShot], and choose the version corresponding to your local KeyShot installation from the version list. Click the [Install] button. Then manually select the local KeyShot installation path (if KeyShot is installed in the default path, Renderwow can detect it automatically). After the plugin installation is complete, Renderwow will display an [Installation Successful] prompt. You can also view the corresponding KeyShot version and installation path information in the [Installed Plugins] list.
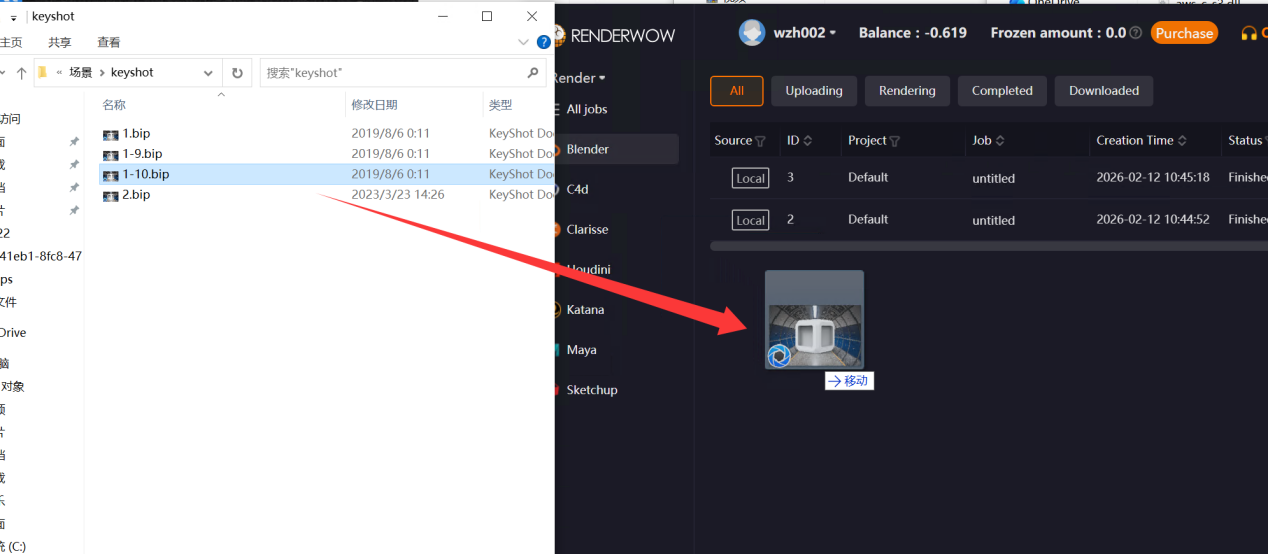
2. Drag and Drop the .bip Scene File into the Client
After the plugin installation is complete, first configure the relevant rendering parameters for the scene in your local KeyShot software. Once confirmed, save the file in .bip format. Then drag and drop the scene file into any blank area of the Renderwow client to trigger the job submission workflow.
Note:
-
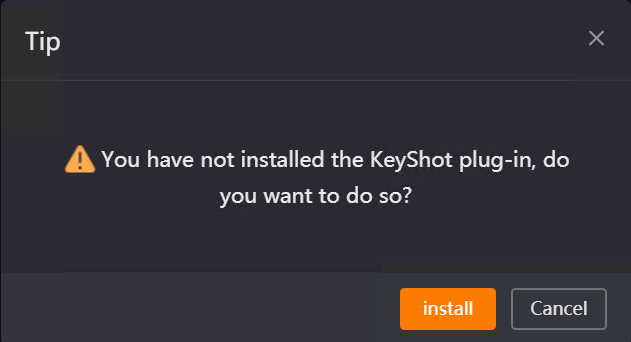
If the KeyShot Renderwow plugin is not installed and you directly drag and drop a scene file into the client, Renderwow will display a prompt dialog. Click the [Install] button to automatically navigate to the [Plug-in Manage] page. After completing the plugin installation, you may proceed with job submission.
-
Currently, Renderwow only supports drag-and-drop submission of KeyShot scene files in .bip format. If a file in another format is dragged and dropped, Renderwow will display an unsupported format prompt. You will need to re-export the file in the correct format before submitting.
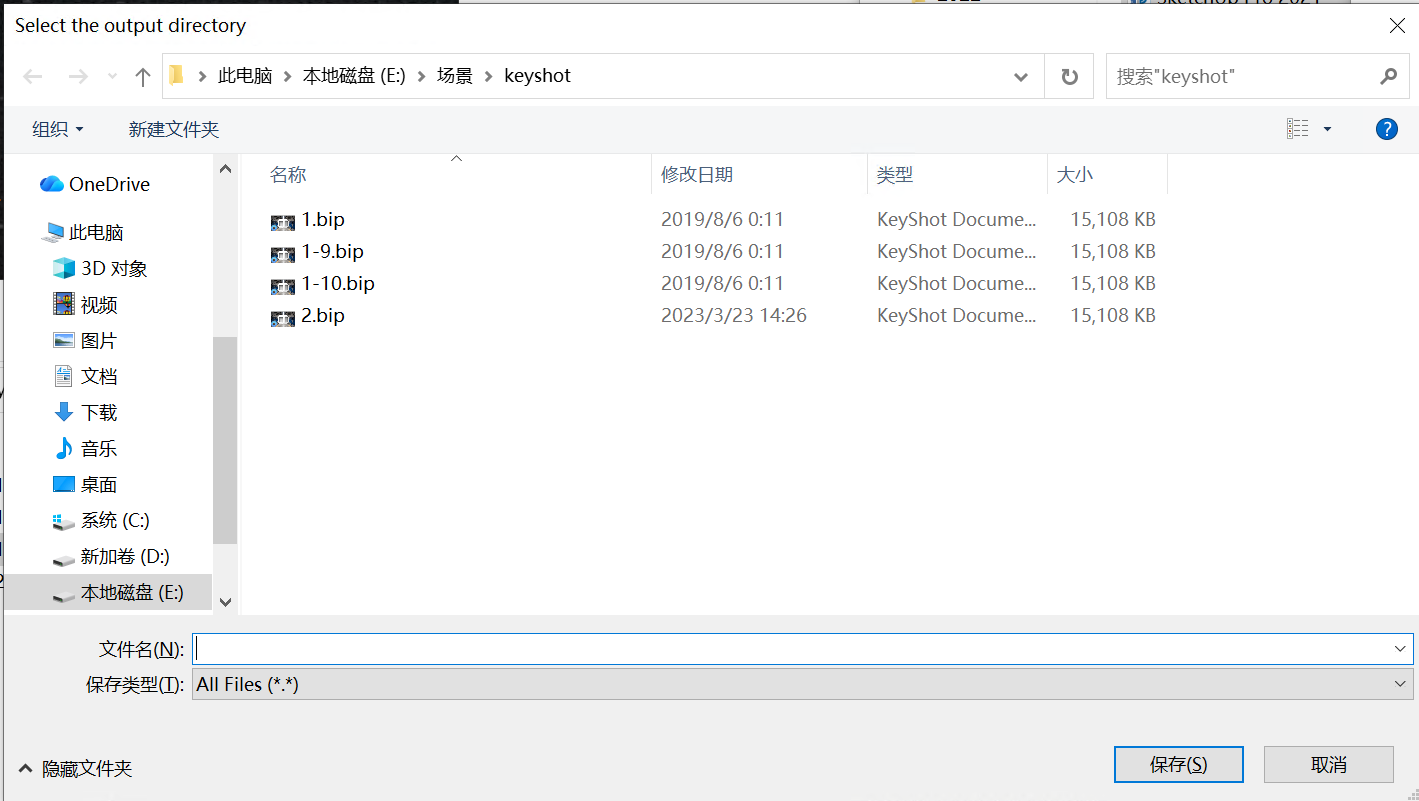
3. Set the KeyShot Version and Rendering Output Path
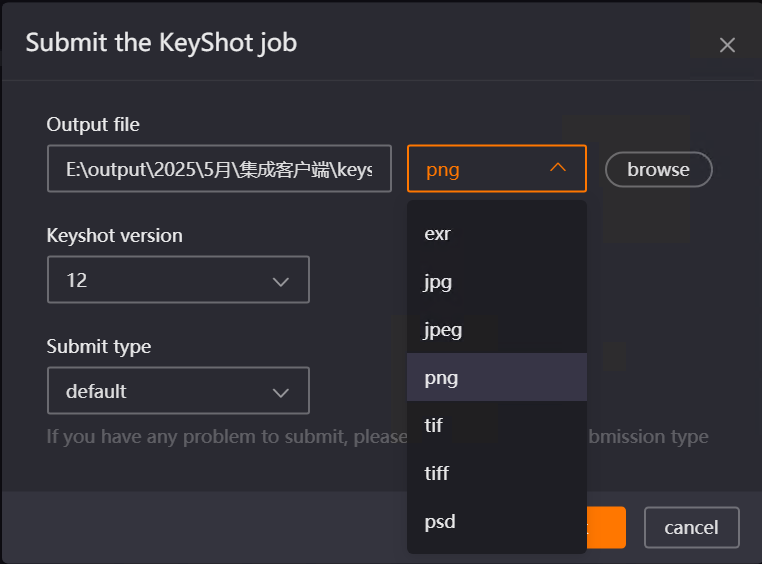
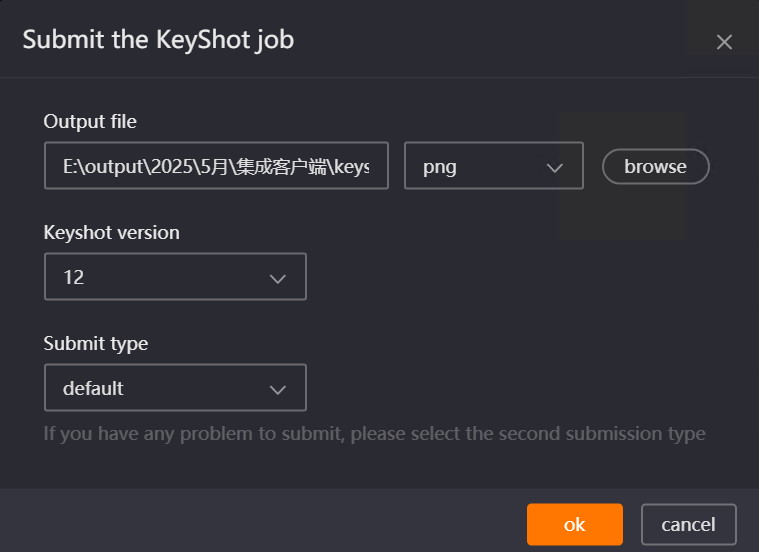
After the scene file is successfully dragged and dropped, Renderwow will automatically display the job submission dialog. Click the [Browse] button in the dialog to open the output directory selection page, choose the save path for the rendering results, and enter the file name. Then select the desired output file format from the format drop-down list (such as JPG, PNG, EXR, etc.), and choose the KeyShot version that matches your local scene. After all settings are configured, click the [OK] button.
Important: If no output file format is selected, Renderwow will display a [Please Select Format] prompt after clicking [OK]. You must select a format before submitting.
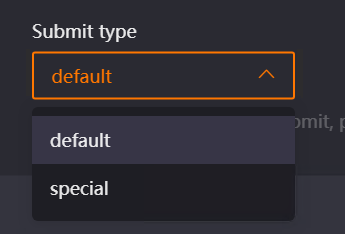
Note: If an exception occurs during job submission (such as submission failure or scene not recognized), you can drag and drop the scene file into the client again. In the submission dialog, select [Special] under [Submit Type], then reconfigure the settings and submit. This can effectively resolve most submission anomalies.
4. Wait for the Scene to Open Automatically
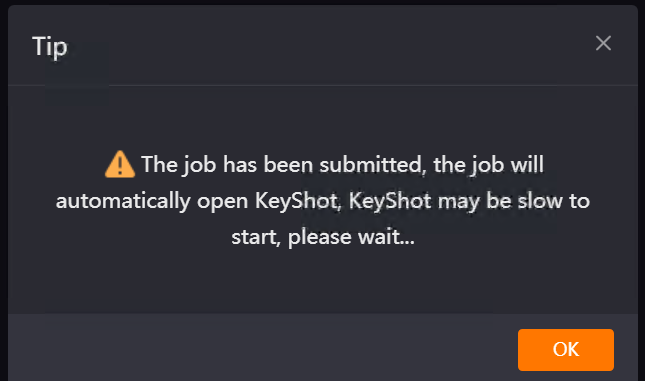
After completing the version and output path settings and clicking [OK], Renderwow will display a prompt dialog stating: "The job has been submitted. The job will automatically open KeyShot. KeyShot may be slow to start, please wait…" At this point, no manual operation is required. After a brief wait, Renderwow will automatically launch the KeyShot software and open the submitted rendering scene.
5. Confirm Rendering Parameters
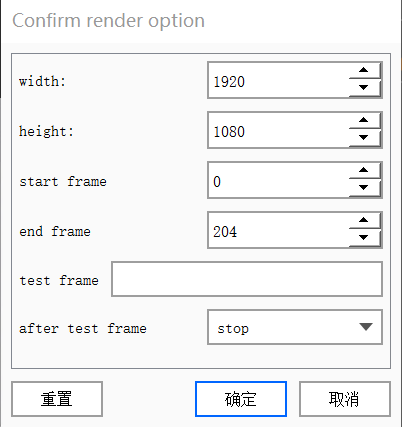
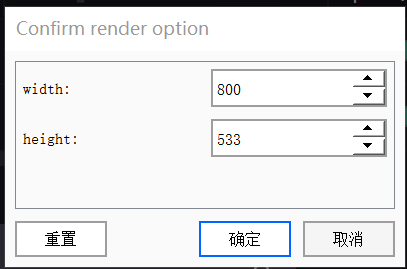
After the KeyShot software launches and opens the scene, Renderwow will automatically display the [Confirm Render Options] dialog. Carefully verify all rendering parameters in the dialog (such as width, height, frame count, etc.). After confirming that everything is correct, click the [OK] button. Depending on the scene rendering settings (single-frame/multi-frame), the corresponding parameter confirmation dialog for still images or animations will appear; verify as needed.
Animation Job Parameter Confirmation
Still Image Job Parameter Confirmation
6. Job Submission and Progress Tracking
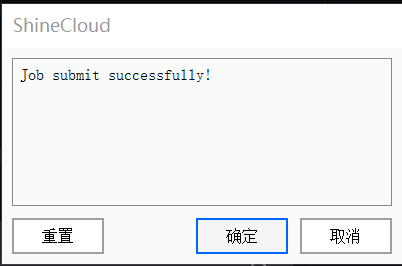
After the rendering parameters are confirmed, Renderwow will display a [Job Submitted Successfully!] prompt. Click [OK] to proceed. At this point, return to the Renderwow client, where you can find the newly submitted job in the job list. The job will automatically proceed through Packaging → Uploading → Rendering → Downloading. Once the job is complete, the rendering results will be automatically saved to the previously configured output path.

8.2 Parameter Confirmation Page Function Description
8.2.1 Still Image Rendering Parameter Confirmation Page
-
Width, Height: Renderwow will automatically detect the existing width and height parameters in the scene. Users may manually modify these values as needed before submission.
-
Reset: Click the [Reset] button to quickly restore the original default rendering parameters of the scene, eliminating the need for manual re-entry.
8.2.2 Animation Rendering Parameter Confirmation Page
-
Width, Height: Automatically detects the width and height settings in the scene. Supports manual modification by the user to accommodate different output size requirements.
-
Start Frame, End Frame: Renderwow will automatically detect the start frame and end frame configured in the scene. Users may modify these values as needed, but please note that the modified frame numbers must fall within the actual frame range contained in the scene; otherwise, rendering anomalies may occur.
-
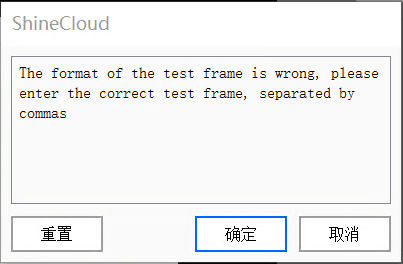
Test Frame: Supports input of single or multiple test frames (multiple frames separated by commas, e.g., 1,3,6). After submission, test frames will be rendered with priority, allowing users to quickly preview the rendering effect. If [Post-Test Action] is set to [Stop], the job will pause after the test frames are rendered. After the user confirms that the effect is satisfactory, right-click the job in the client and select [Resume Full-Speed Rendering]. If [Full-Speed Rendering] is selected, the job will automatically enter full-speed rendering mode after the test frames are completed, allowing users to view the test frame results while rendering continues. (Note: Animation jobs render one frame at a time, with the default number of frames per sub-job set to 1.)
Note: If Chinese or English punctuation, special characters, or numbers exceeding the scene frame range are entered, Renderwow will display an error dialog stating: "Invalid test frame format. Please enter the correct test frame, separated by commas." Clicking [OK] or [Cancel] on the error dialog will return you to the parameter confirmation page to reconfigure the test frames. At this point, clicking the [Reset] button will be ineffective; you must manually correct the erroneous content.
-
Reset: Click the [Reset] button to restore the original animation rendering parameters in the scene (width, height, start frame, end frame, etc.), facilitating reconfiguration.